User Manual
Inventory
Version 1.1.4
The inventory provides OrpheAgent device information, including OrpheAgent connect to OrpheLink status, OrpheAgent device name ,IP address, OS, Group, uptime and message.
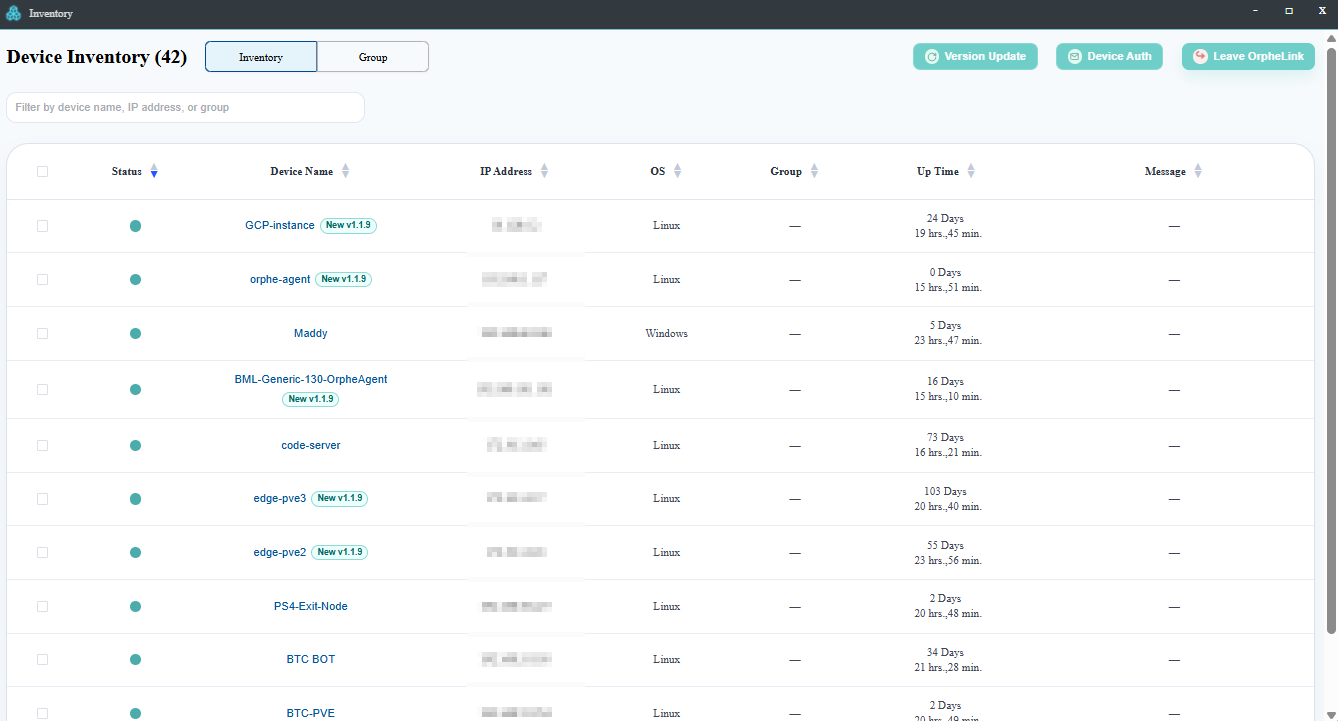
After selecting specific devices in the Device Inventory list, you can perform batch operations using the control buttons located in the top-right corner.
Available Operations
-
Version Update:
Click this button to update the software or firmware version for the selected devices. -
Device Auth:
Assign an email address to the selected devices; once set up, email verification is required before the device can connect to other OrpheAgent instances and enable the dataplane. -
Leave OrpheLink:
Click this button to remove the selected devices from the OrpheLink system.

Clicking on 'Device Name' will display the OrpheAgent device's real-time status, including system load and a traffic chart for the primary WAN network.
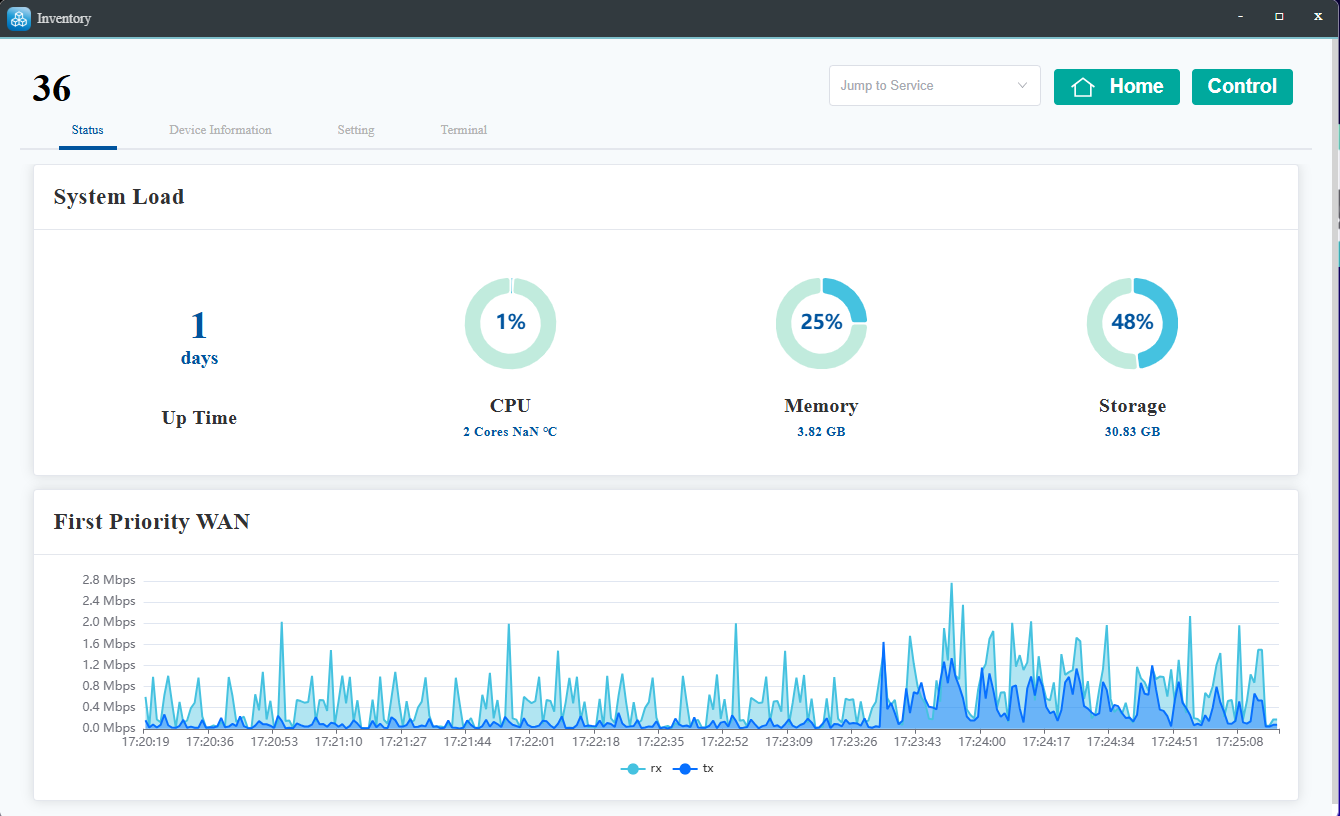
Device information will display the firmware version, last access time, software serial number, and Primary WAN IP address.
The Settings page allows modification of Gernal settings and Jump-to-Service settings.
General settings include configuration of the device name, OrpheLink tunnel port (for Controller connection), SD-WAN tunnel port (for peer-to-peer connections), and HTTP/HTTPS management ports
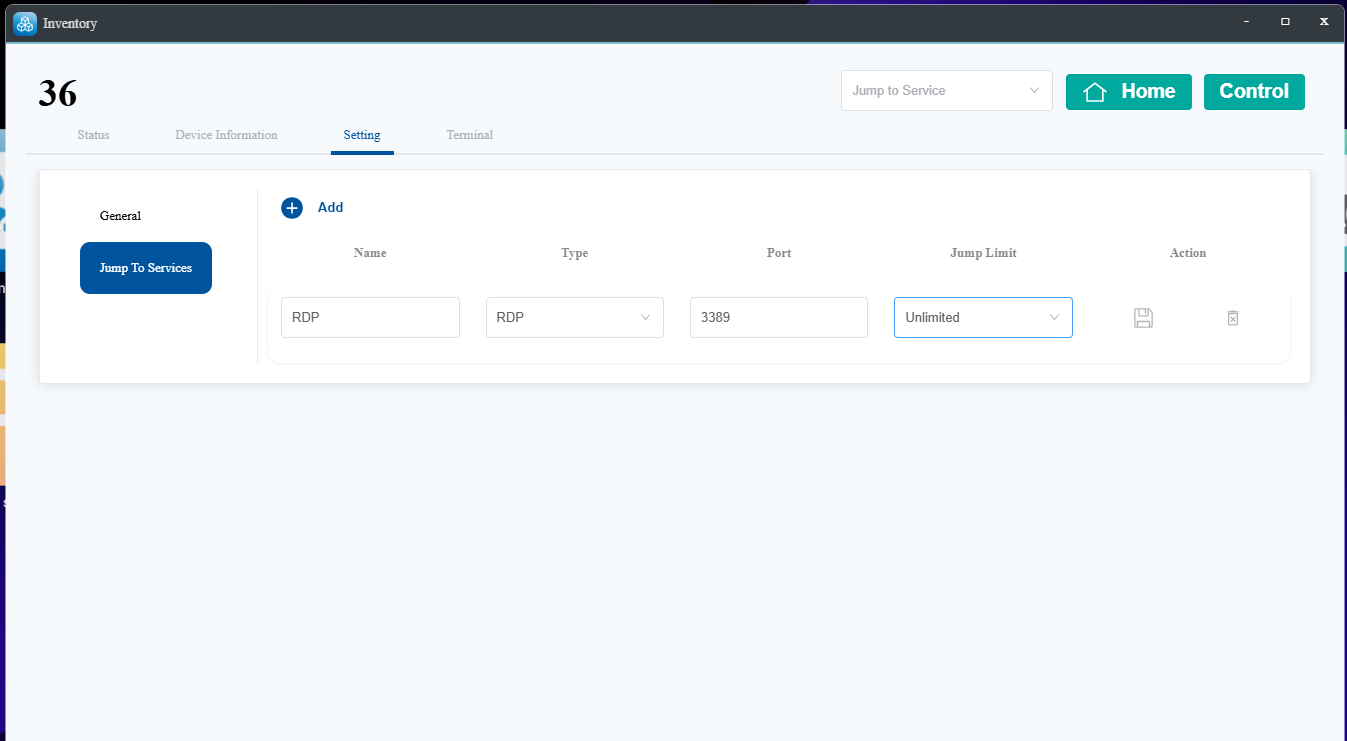
Jump-to-Service setting to quickly open application interfaces like HTTP, HTTPS, SSH, VNC, or RDP from the OrpheLink page.
Note:
- VNC (Virtual Network Computing) : Allows you to remotely control another computer by sharing its screen in real time.
- RDP (Remote Desktop Protocol) : RDP is a Microsoft protocol that lets you access and control a Windows computer remotely, showing its full desktop interface.

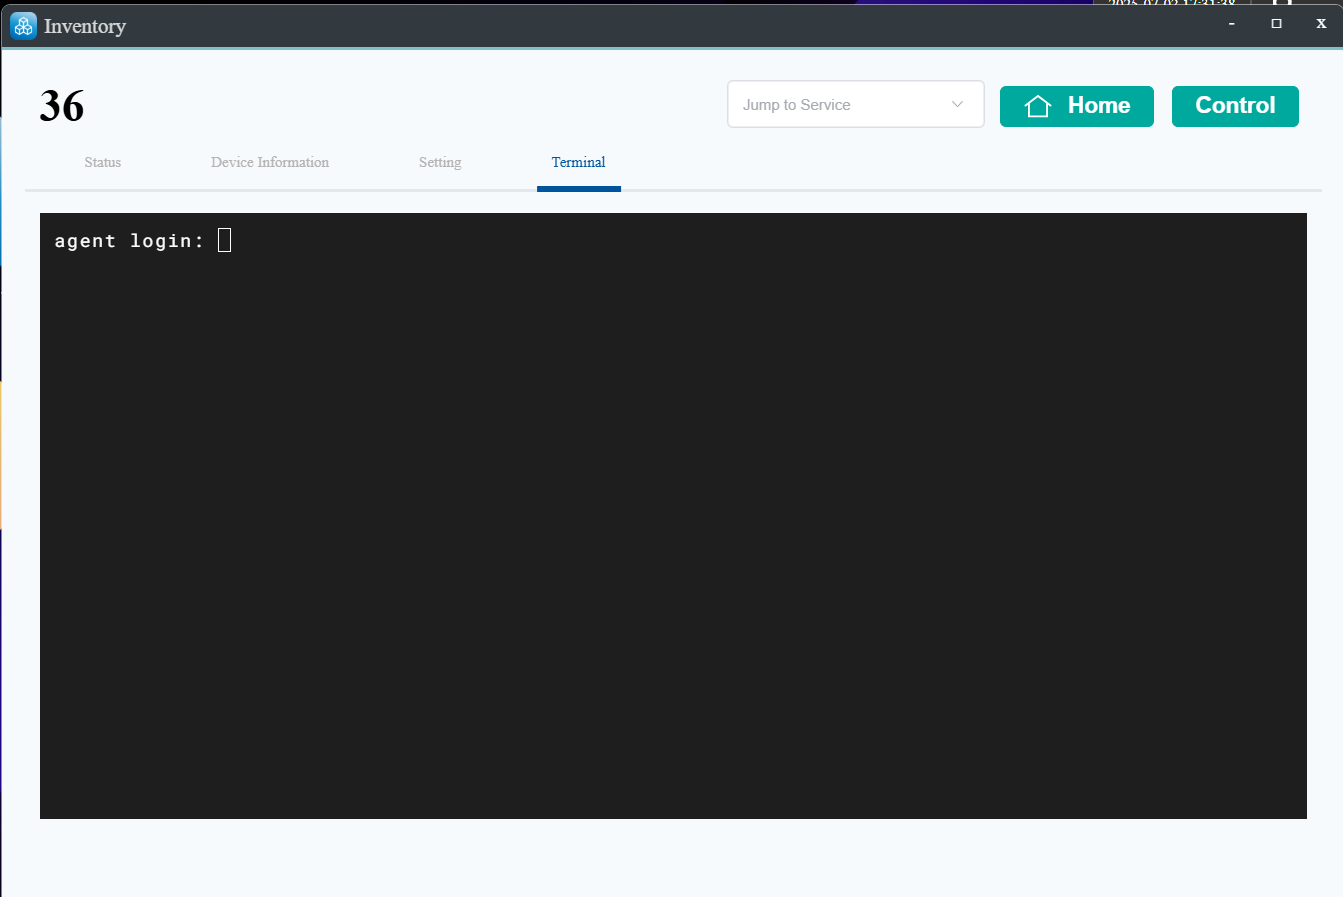
You can access the device directly through the terminal.
If it's the Linux OrpheAgent version, the username and password are the ones you set yourself.
If it's the Container OrpheAgenversion, the default credentials are:
- Username: orphe-agent
- Paddword: orphe-agent
How to Set Up RDP Protocol (Remote Desktop) on Ubuntu/Linux
- Step 1. Install the RDP server on your Ubuntu/Linux device:
- Step 2. On the Jump to Service page, choose the RDP protocol and click Save.
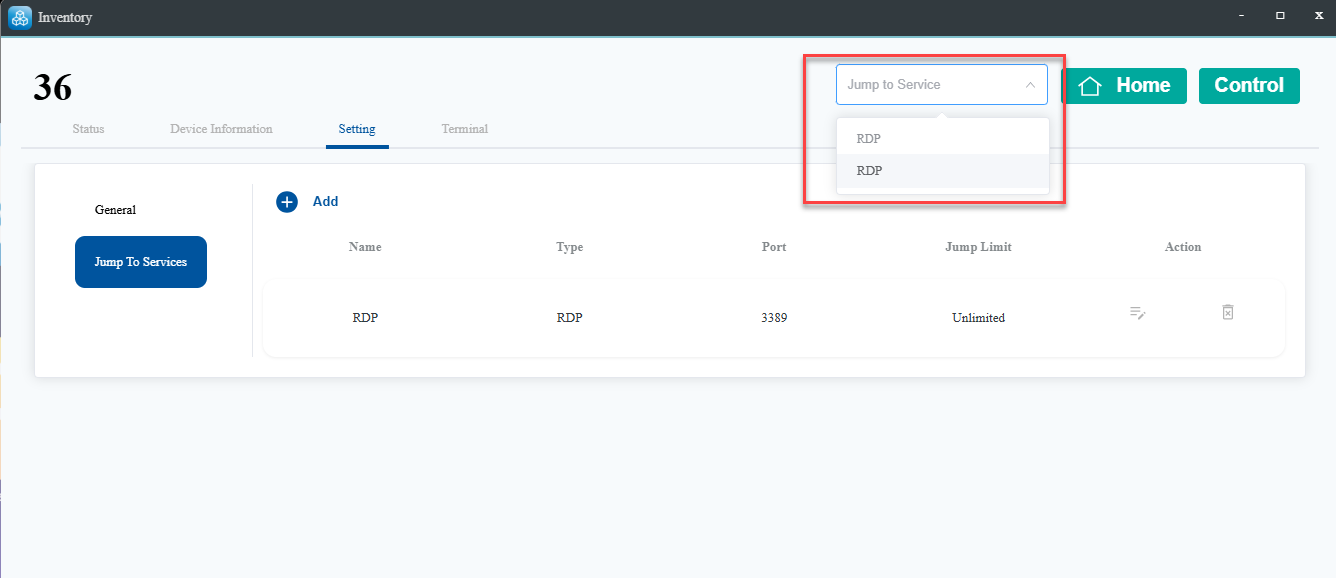
- Step 3. After saving, click Jump to Service.
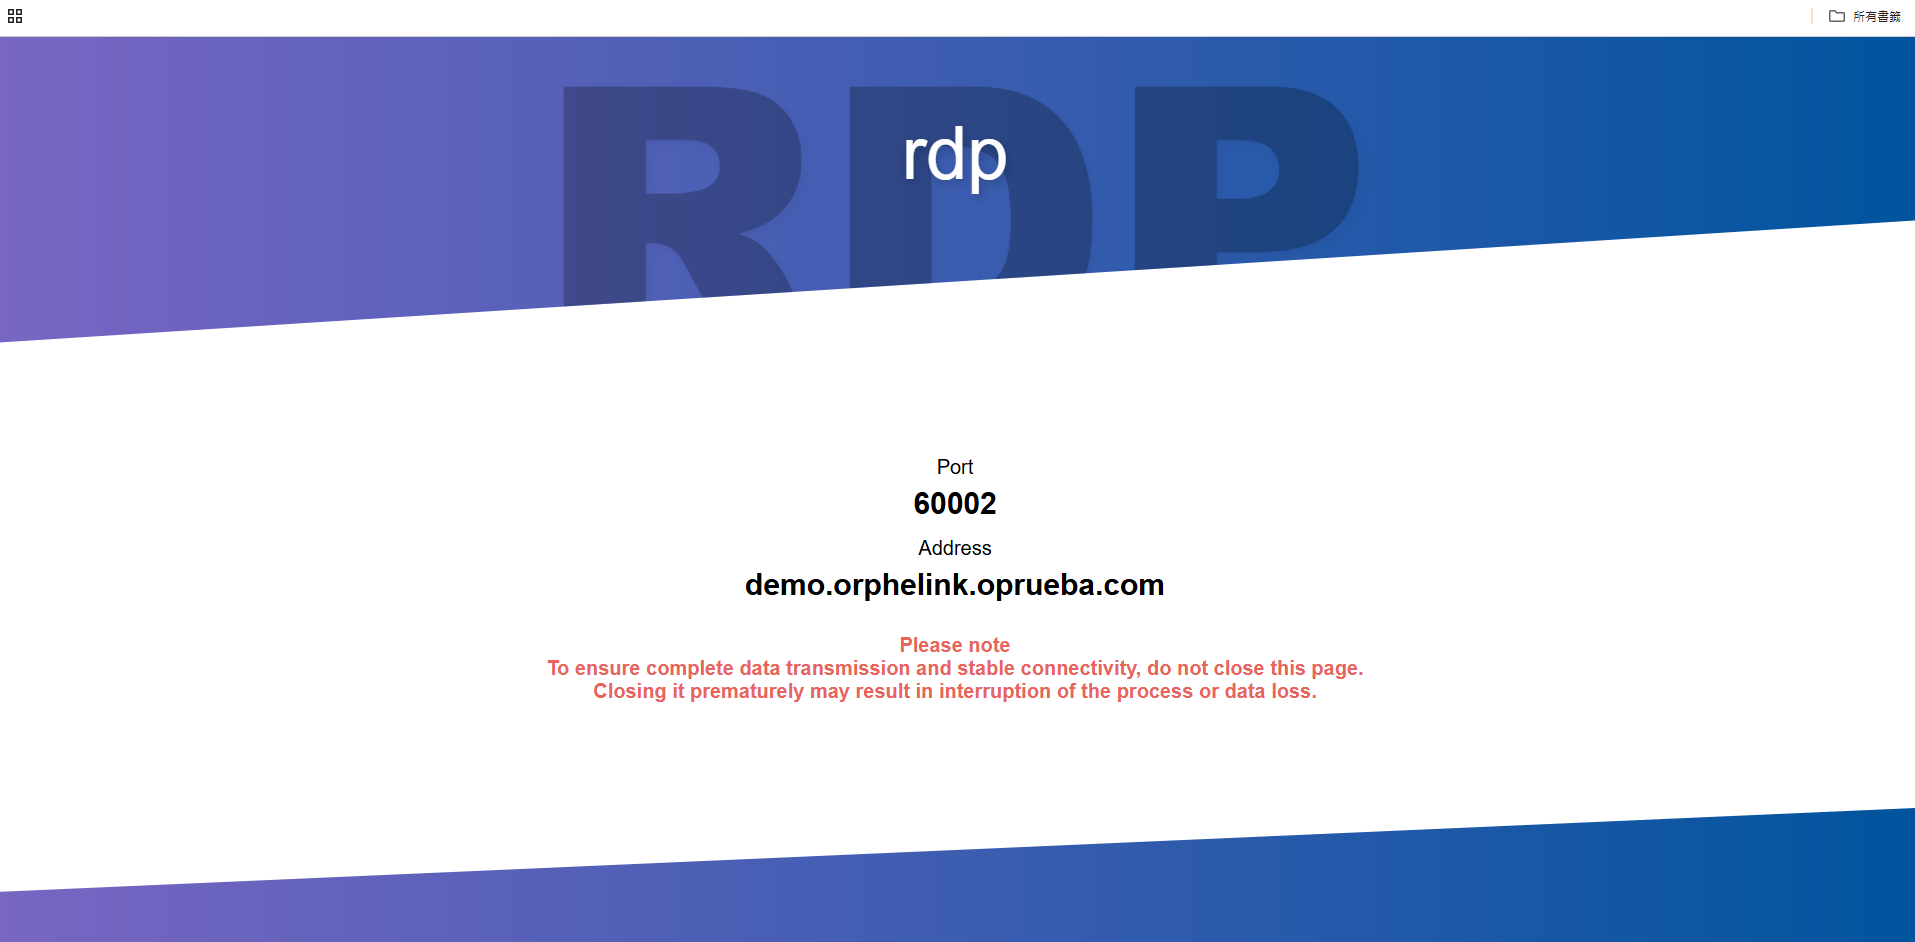
- Step 4. You will receive a generated URL and port, e.g.,
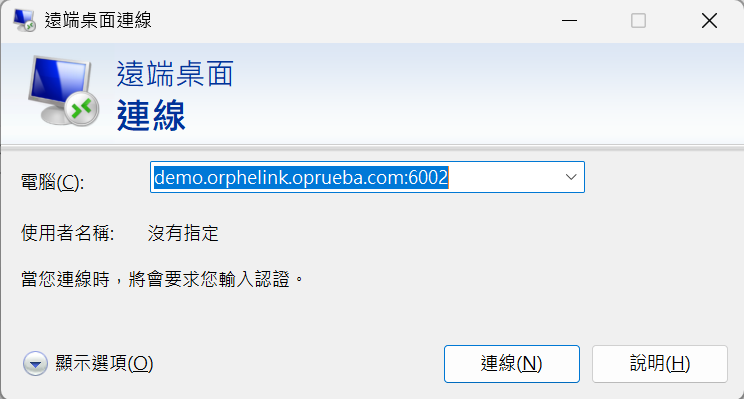
- Step 5. Open Remote Desktop Connection on your Windows PC.
- Step 6. Enter the received address and port, then click Connect.
- Step 7. Enter your Linux login username and password.
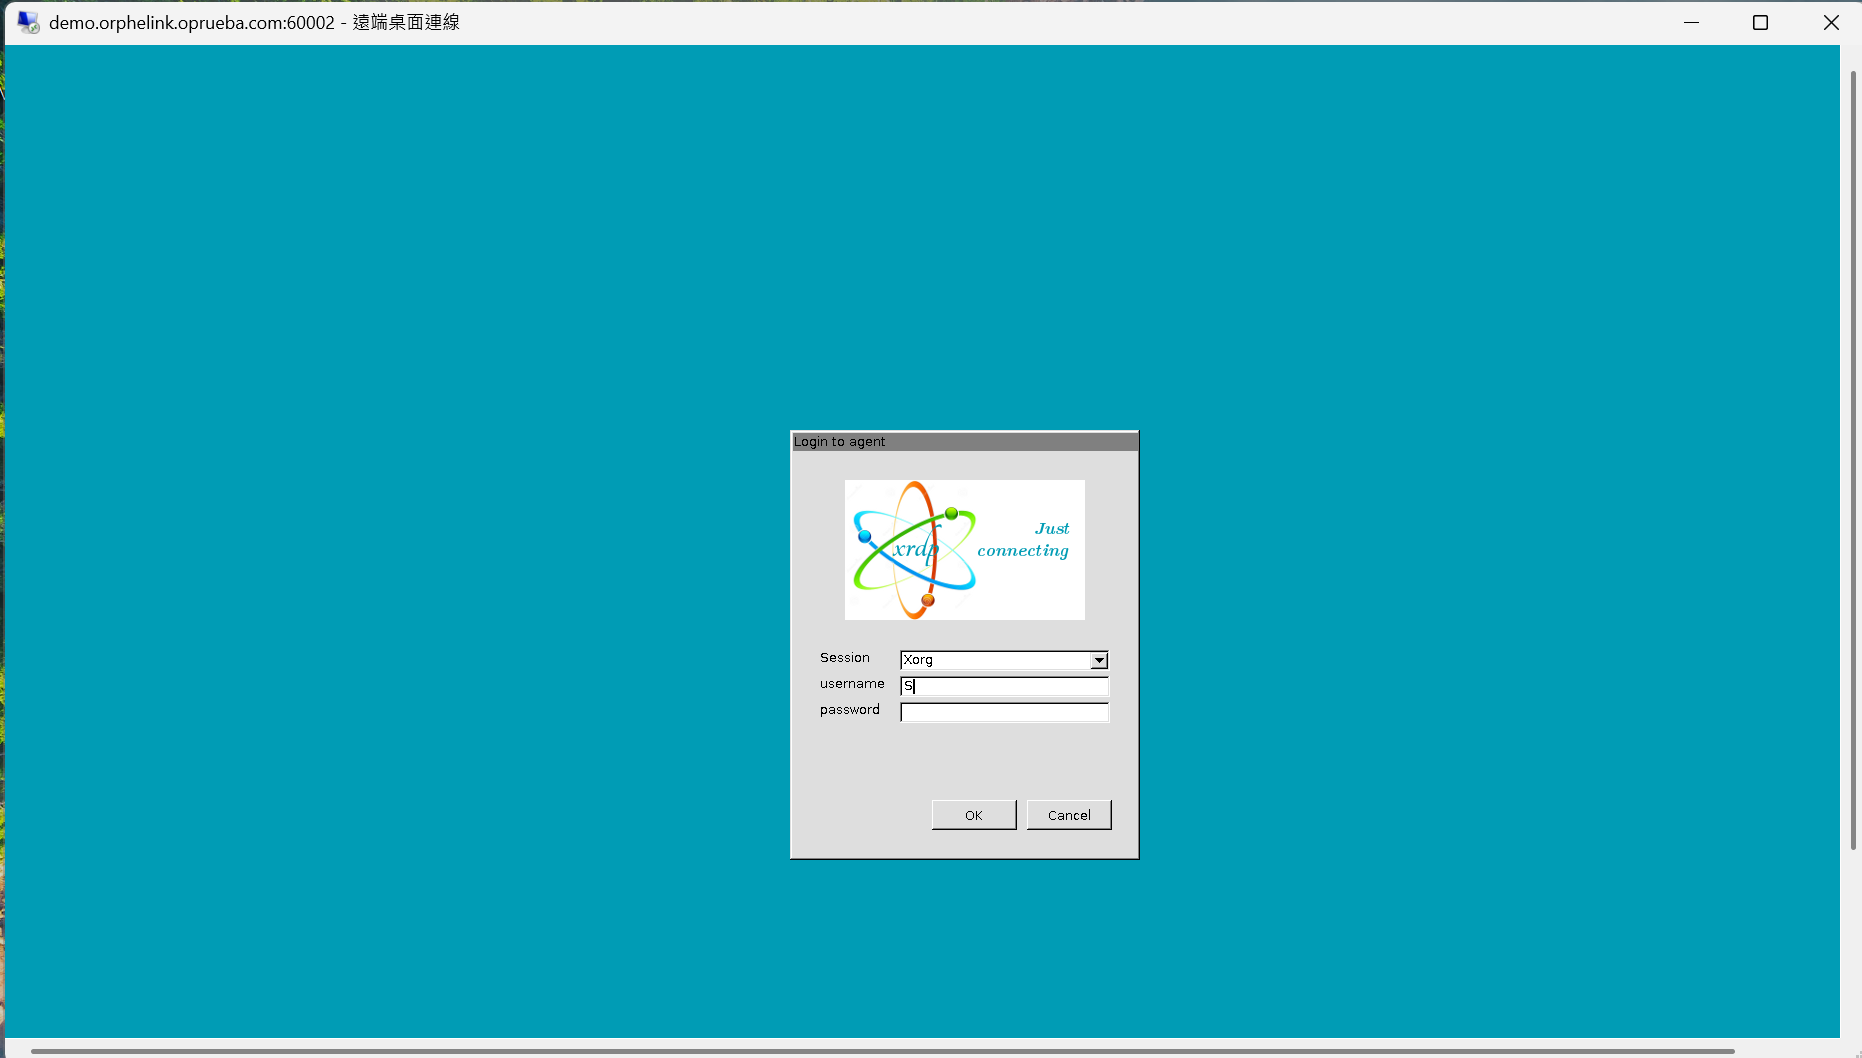
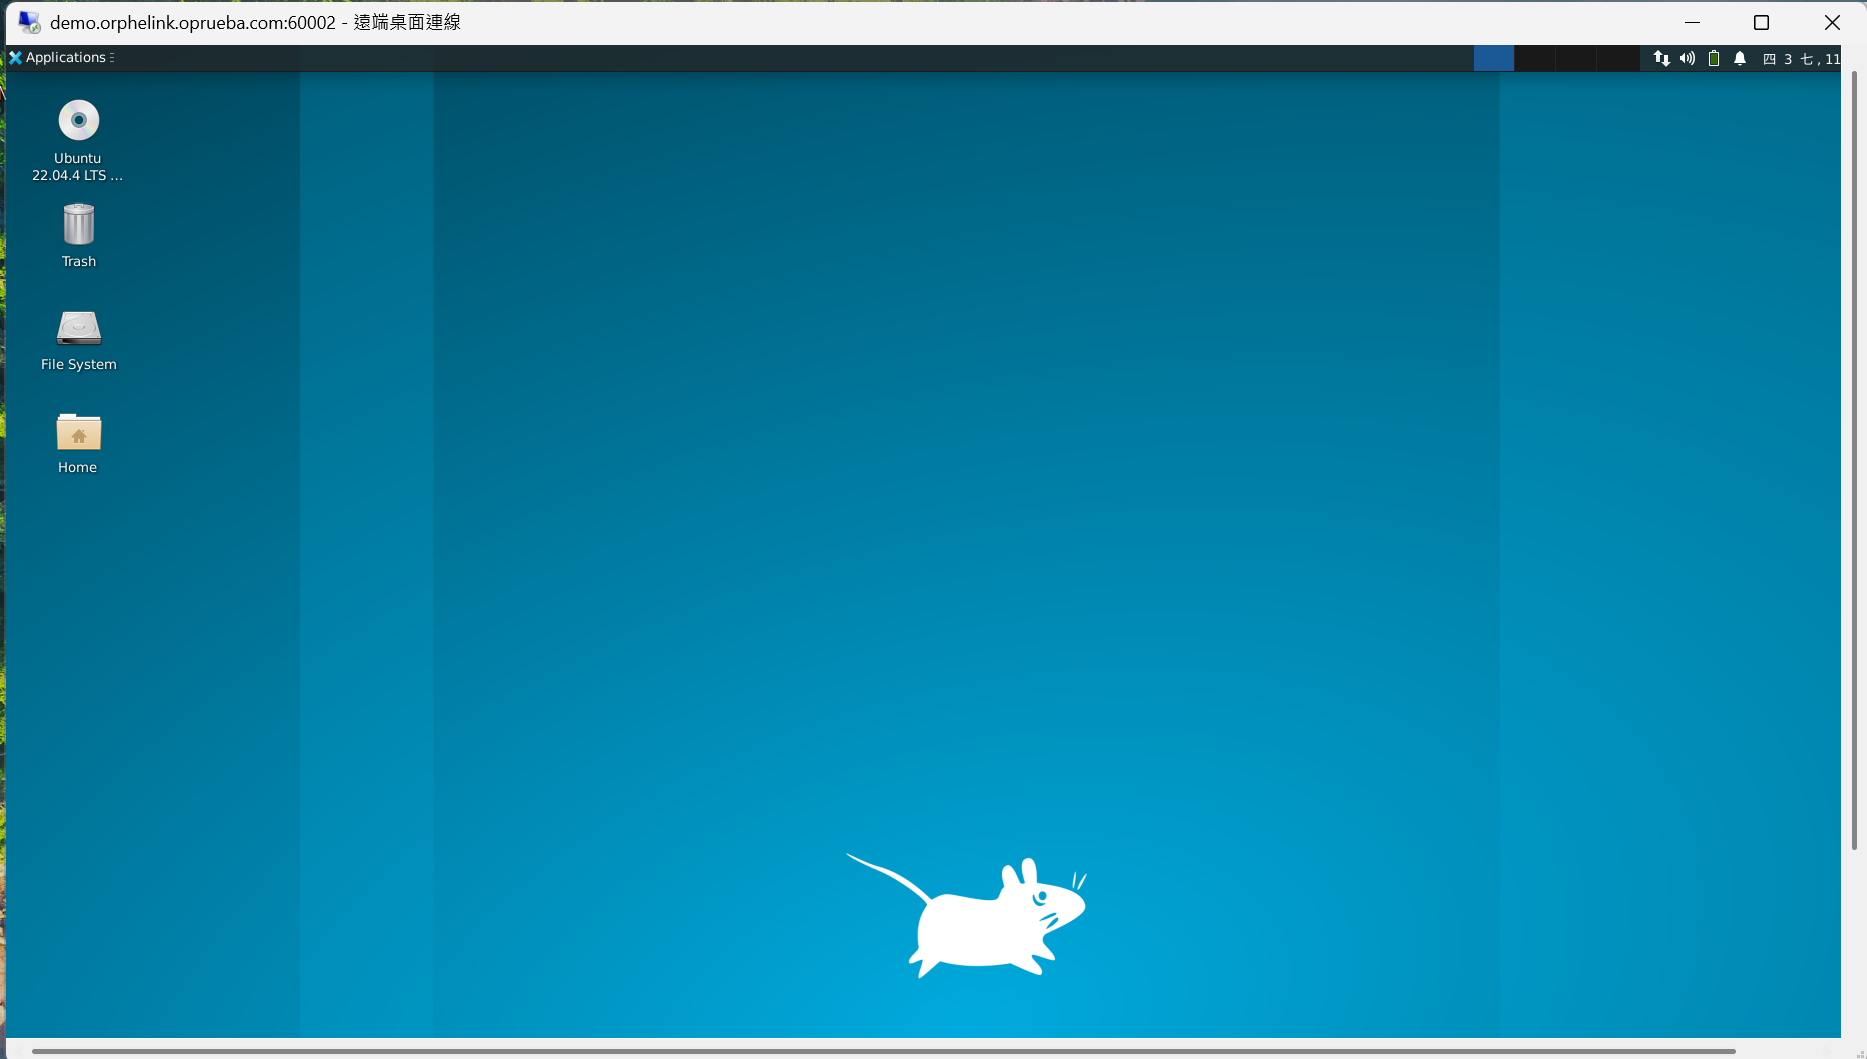
- Step 8. You should now see the remote desktop screen of your Linux device.