User Manual
OrpheConsole Provisioning
Version 1.0.3
OrpheConsole Provisioning to OrpheLink
Step 1. Apply for an OrpheLink Account
If you do not have an OrpheLink account yet, please apply through the official portal.
Registration link: Create a New Account
For a detailed registration walkthrough, please refer to the OrpheLink Getting Start page : https://www.oprueba.com/tw/manual/188
Step 2 . Log in to OrpheLink
Open the OrpheLink portal and sign in with your credentials.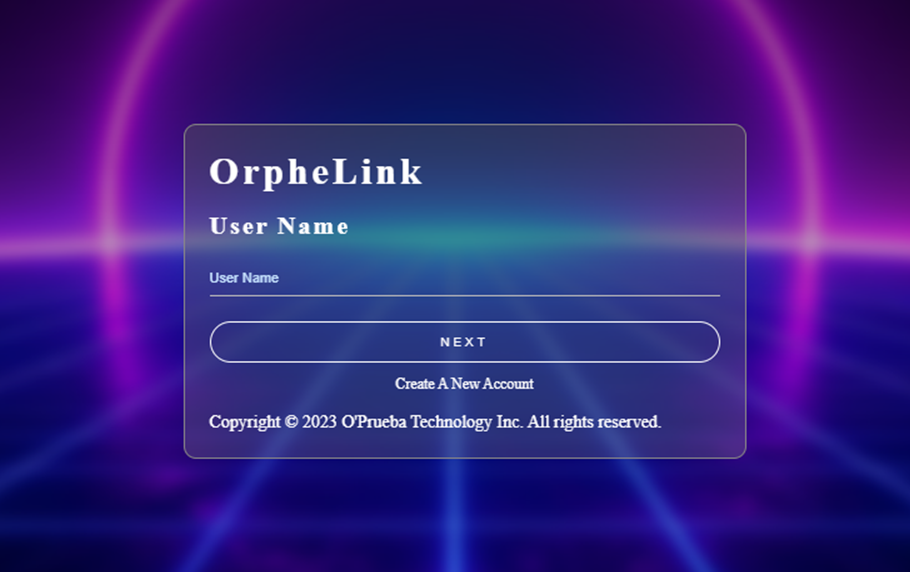
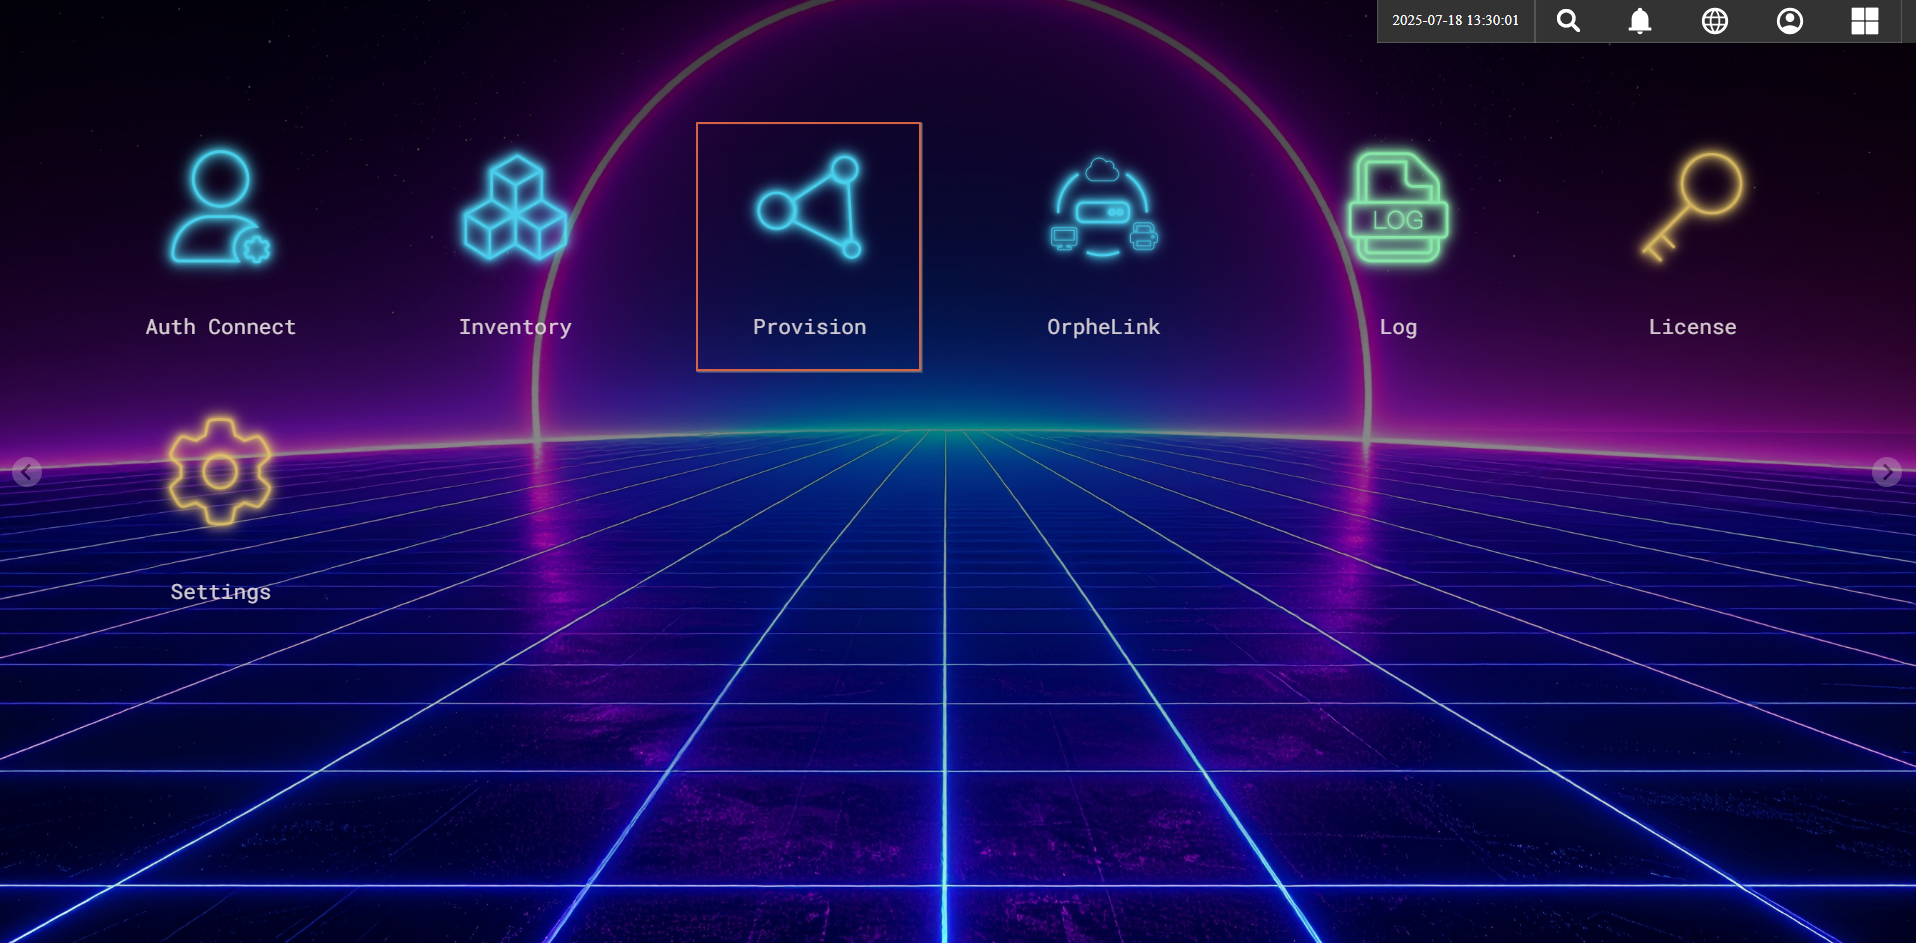
Step 3 . Navigate to the "Provision" section on the OrpheLink interface.
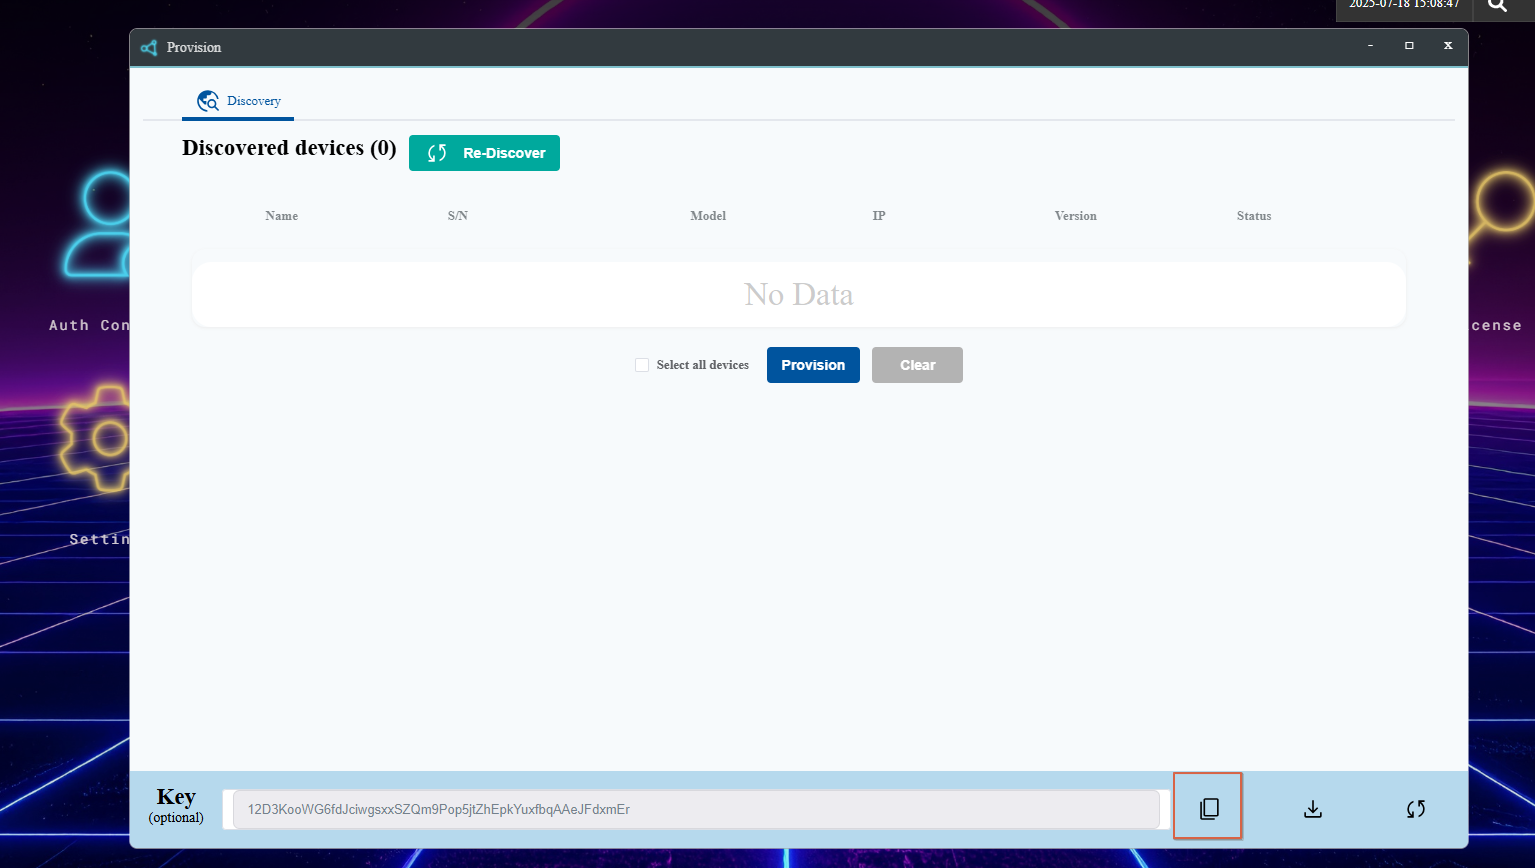
Step 4 . Generate and copy a new Provision Key for your device.
Step 5 . Provision
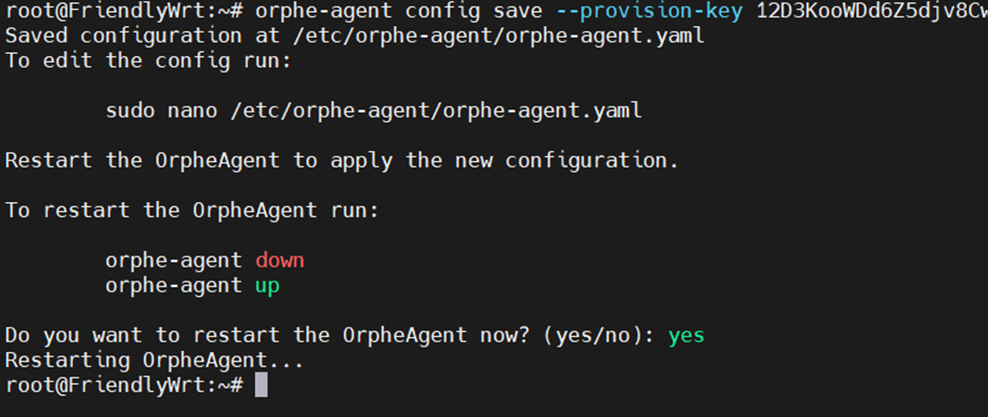
Method A – Provision via SSH
orphe-agent config save --provision-key YOUR_KEY
Method B – Provision via LuCI Web UI
- Connect your laptop to the LAN port of the OrpheConsole device
- Open a browser and enter the default management address: http://192.168.2.1
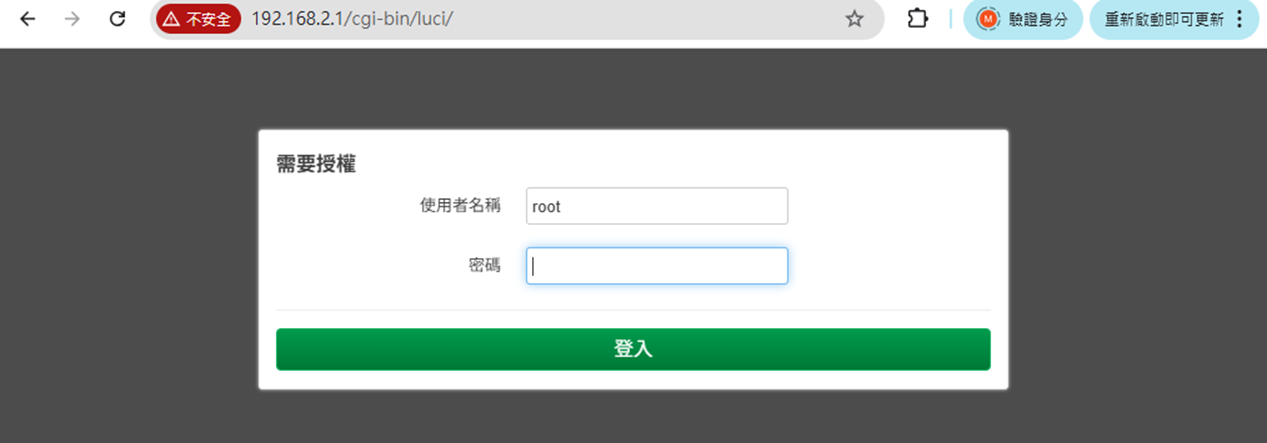
- Log in to the system.
- Default Username : root
- Default Password: password
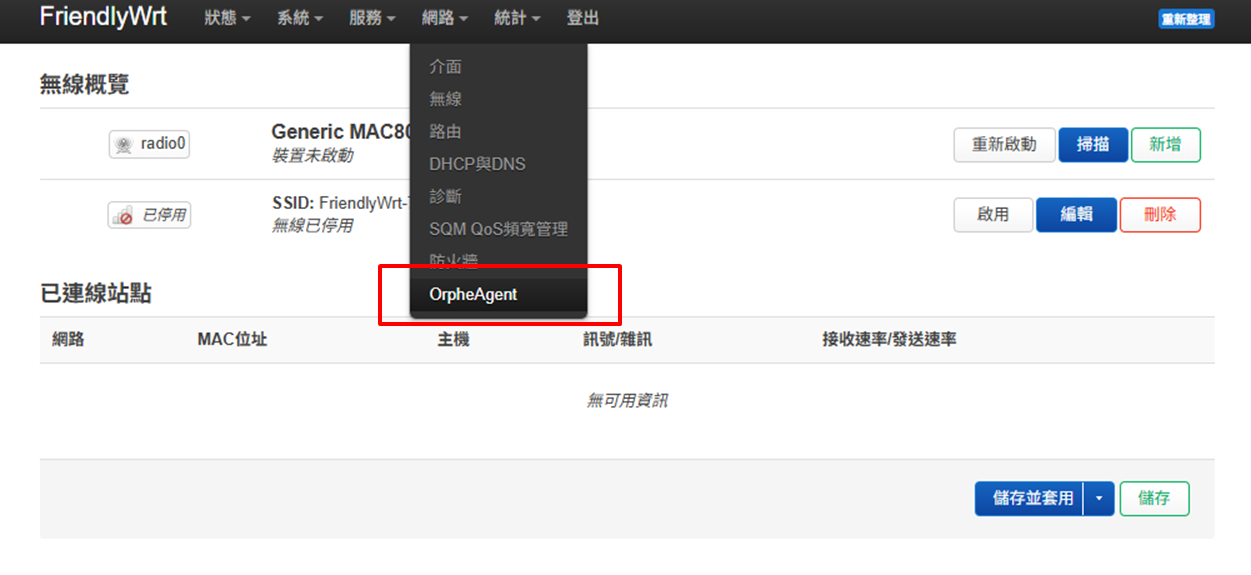
Go to Network → OrpheAgent
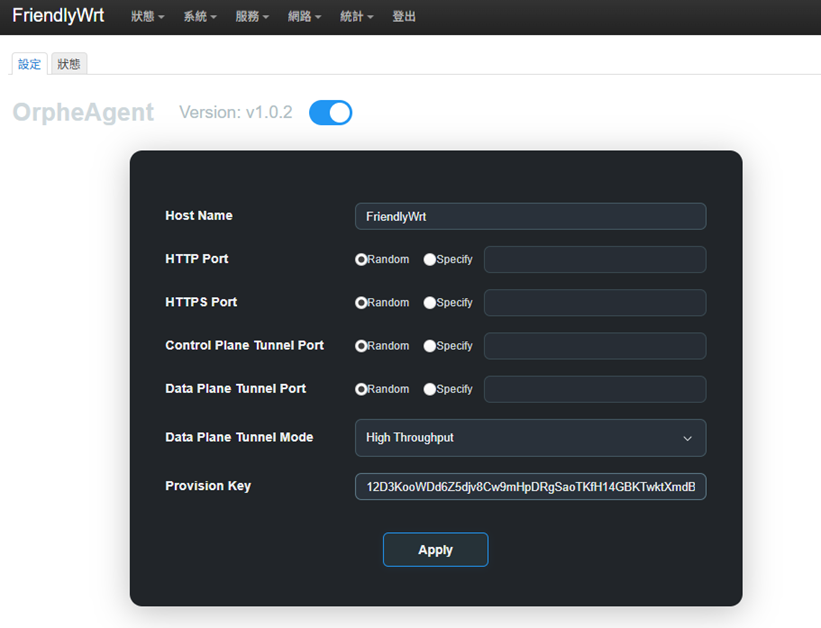
- Paste the Provision Key into the field.
- Click Apply to complete the provisioning process.
Step 6 . Confirm Device Provisioning
1. Go to Provision
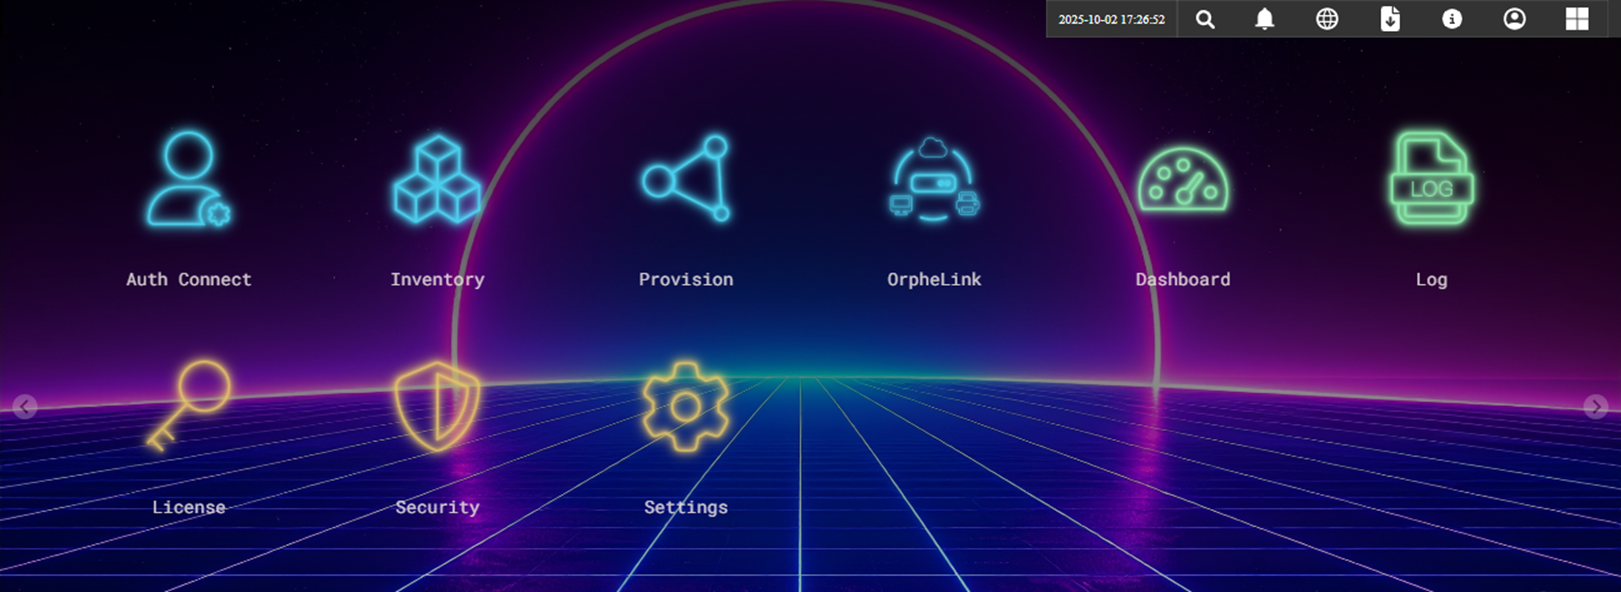
2. Wait for device to appear
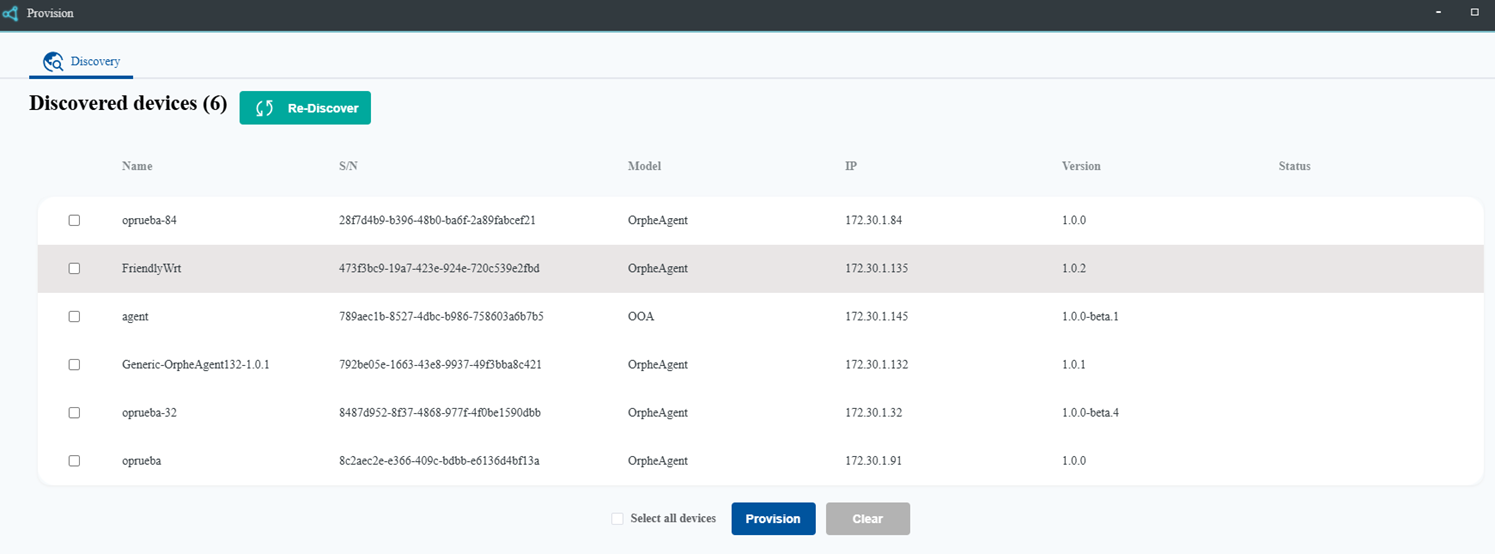
3. Select device and Click Provision

4. Click Apply
Once successful, the device will appear in Inventory.

Your OrpheConsole device is now:
-
Registered to OrpheLink
-
Ready for secure remote orchestration


