User Manual
Portal mode with Radius
Version 2.1
Portal mode with Radius
-
Step 1. Go to Security > Authentication > AAA Server page.
-
Step 2. Click Add button and pop-up Add server page.
-
Step 3. Type name, select "Radius" as the type, and configure the related. Radius server settings, including the hostname, port, and pre-shared key. Then click the Apply button.
Note: You need to setup your own RADIUS server and add data according to the server information.

-
Step 4. Go to Networking > Wi-Fi page.
-
Step 5. Click “Setting” button and pop-up “Setting” dialog box.
-
Step 6. Select Authentication page, Click Add button.
-
Setp 7. Type name.
-
Step 8. Select Portal mode and WPA-2 version.
-
Step 9. Select AAA server for Radius.
-
Step 10. Type Portal redirection URL.
-
Step 11. Type timeout time.
Note: After the timeout, the Internet connection will be disabled and need to re-authentication to get access back.
-
Step 12. Click Apply button.

-
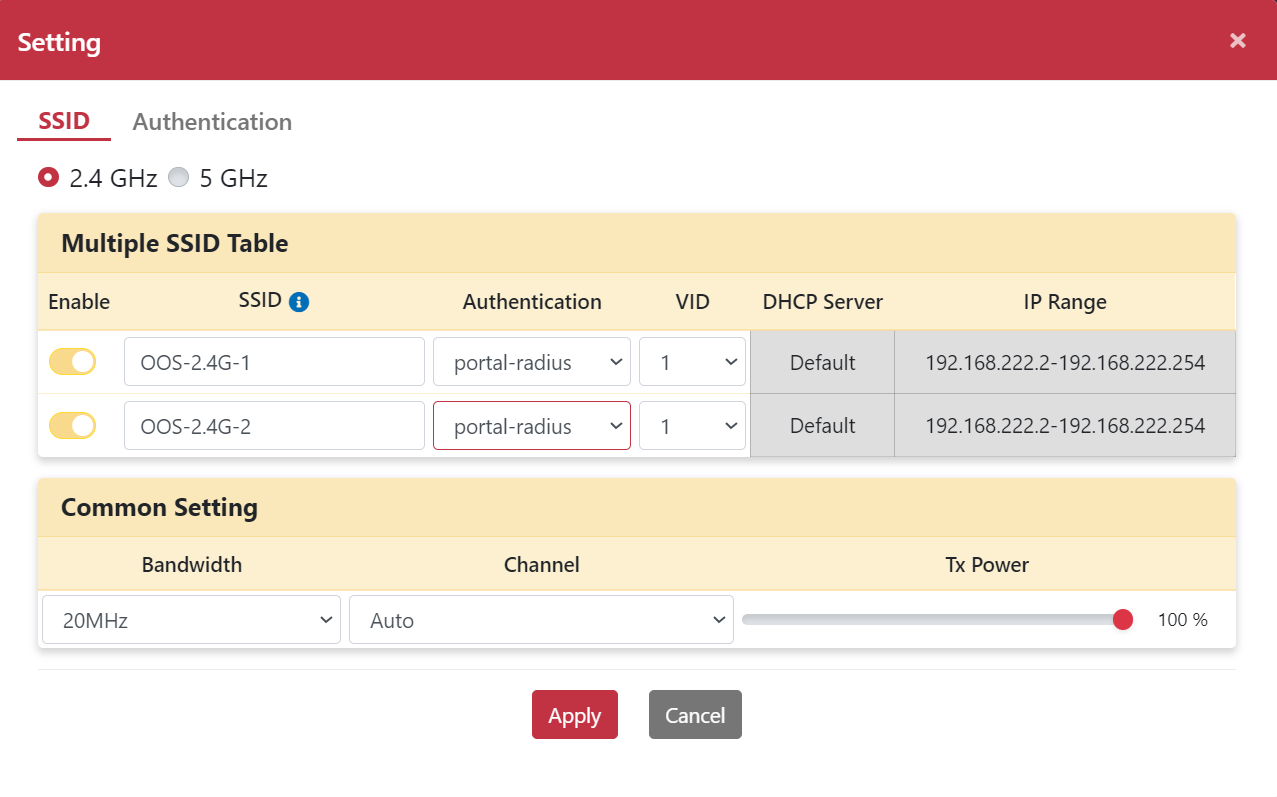
Step 13. Go to SSID page.
-
Step 14. Select Authentication with portal-radius.
-
Step 15. Click Apply button.
-
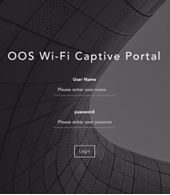
Step 16. clients connect to the OOS-2.4G-1 SSID and the OOS Wi-Fi Captive Portal page will Appear.
-
Step 17. Type user name and password.
-
Step 18. Successful results will automatically connect to the redirection URL.

Portal mode with OOS Controller
-
Step 1. Go to Security > Authentication > AAA Server page.
-
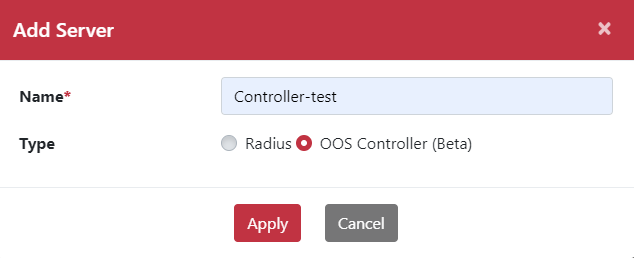
Step 2. Click Add button and pop-up Add server page.
-
Step 3. Type Name and select OOS Controller type.
-
Step 4. Go to Networking > Wi-Fi page.
-
Step 5. Click “Setting” button and pop-up “Setting” dialog box.
-
Step 6. Select Authentication page, Click Add button.
-
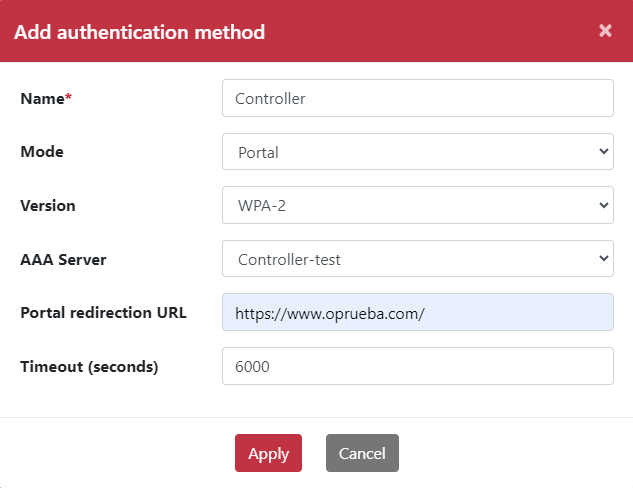
Step 7. Type name.
-
Step 8. Select Portal mode and WPA-2 version.
-
Step 9. Select AAA server for Controller.
-
Step 10. Type Portal redirection URL.
-
Step 11. Type timeout time.
Note: After the timeout, the Internet connection will be disabled and need to re-authentication to get access back.
-
Step 12. Click Apply button
-
Step 13. Login OOS controller
-
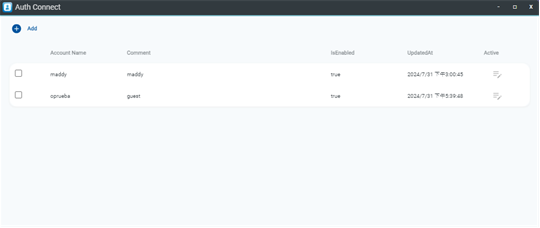
Step 14. Ensure the OOS device is provisioned and Appears in Inventory list.

-
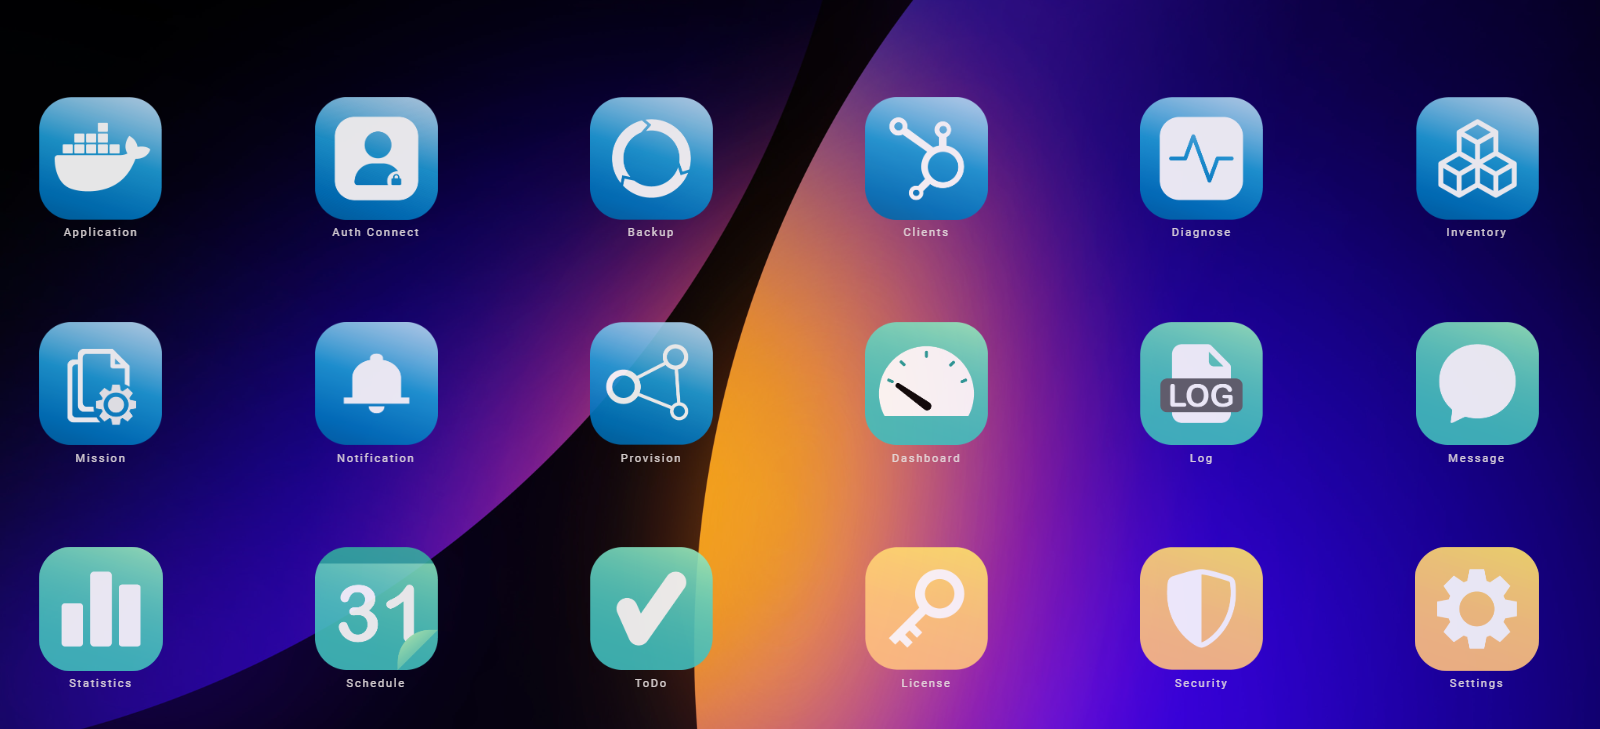
Step 15.Click Auth Connet APP.
-
Step 16. Click Add button.
-
Step 17. Type Account Name and Password.
Note:
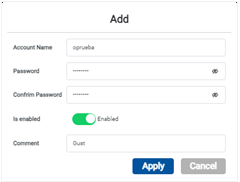
-
Step 18. Click Apply button.
-
Step 19. Go to SSID page.
-
Step 20. Select Authentication with portal-Controller.
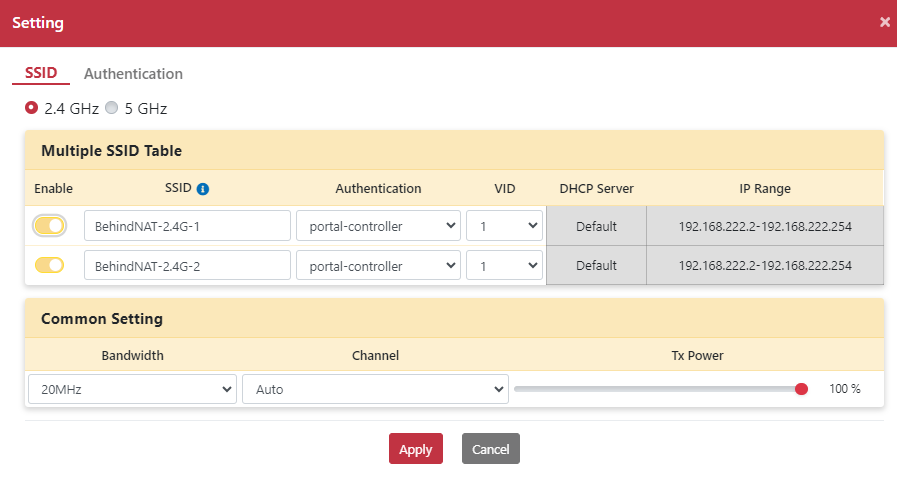
-
Step 21. Click Apply button.
-
Step 22. Clients connects to the BehindNAT-2.4G-2 SSID and the OOS Wi-Fi Captive Portal page will Appear.
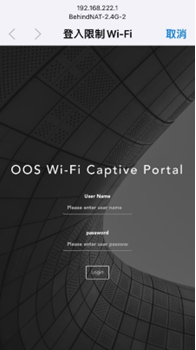
-
Step 23. Type account name and password that created by Auth Connect.
-
Step 24. Successful results will automatically connect to the redirection URL.


