User Manual
OrpheConsole Installation
Version 1.0.3
OrpheConsole Installation Guide
Install the OrpheConsole package on the OrpheConsole device running an OpenWrt-based OS.
Prerequisites
- OrpheConsole hardware device
- Stable WAN internet connection
- Laptop/PC with Ethernet port
- SSH terminal (Terminal / PuTTY)
- Installation packages (.ipk)
Step 1. Download OrpheConsole Installation Package
If you have purchased the OrpheConsole hardware, you may contact us to request the latest software package download.
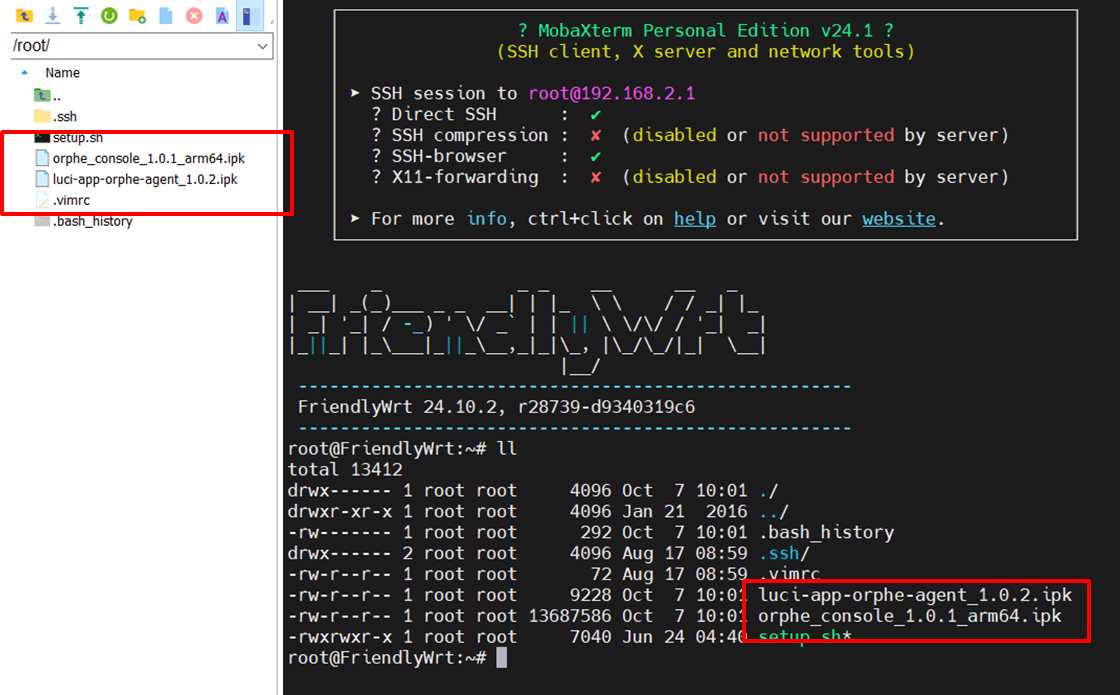
Unzip and open the folder. It includes:
- OrpheConsole .ipk installer (ARM64)
- LuCI UI plugin .ipk

Step 2. Device Network Setup
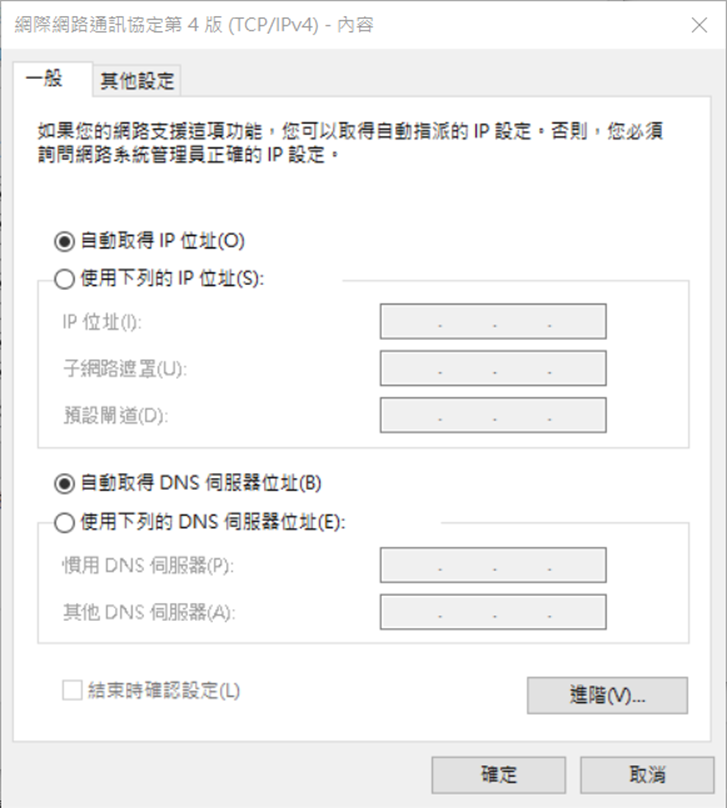
- Prepare a laptop or PC and configure its Ethernet interface to obtain an IP address automatically (DHCP mode).
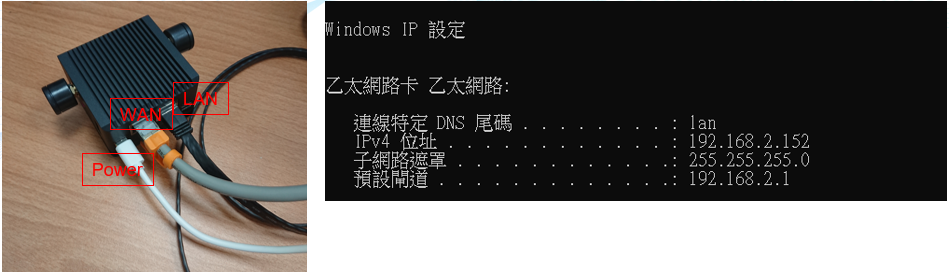
- Power on the OrpheConsole hardware device
- Connect WAN port → internet
- Connect LAN port → laptop via Ethernet
Step 3. Access Device via SSH
ssh [email protected]
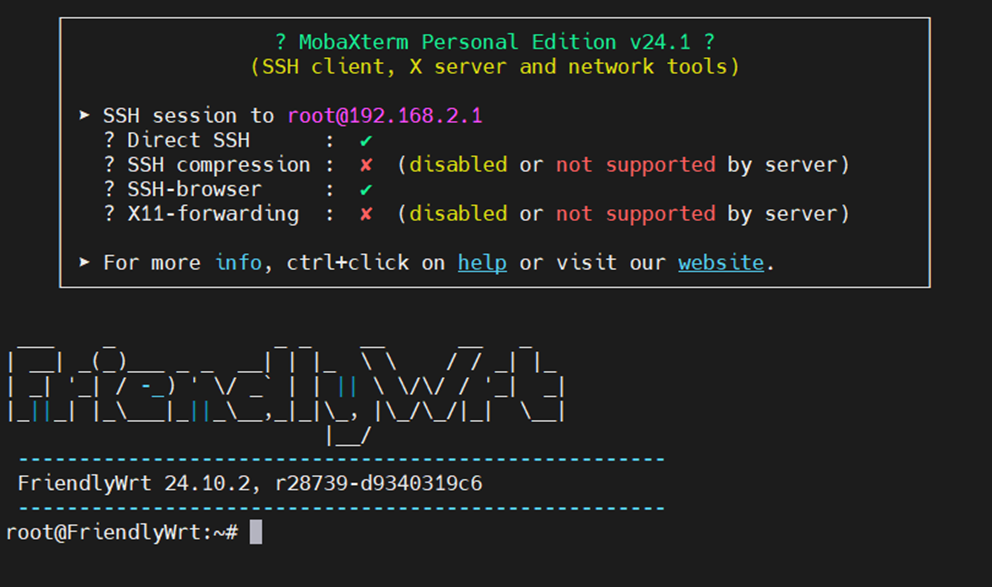
Default Login
- Username: root
- Password: password
Tip: Change password after installation.
Step 4. Upload Installation Files
Upload .ipk files to the device (example: /tmp/)
Use SCP or WinSCP.
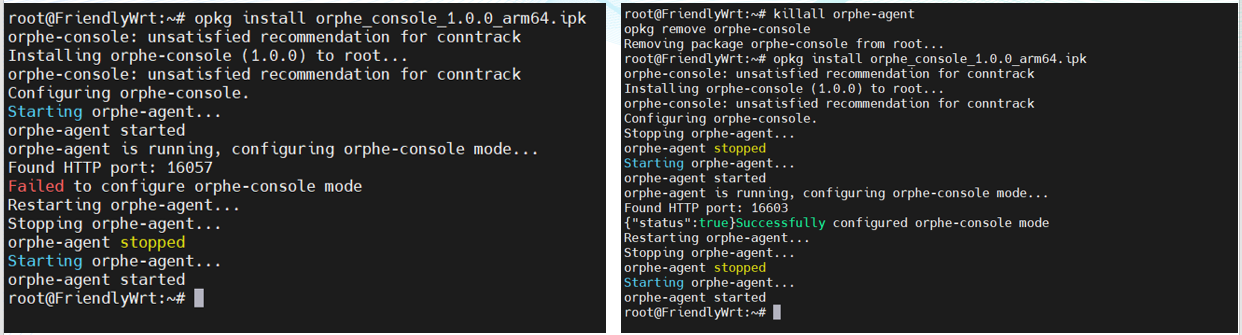
Step 5. Install OrpheConsole
opkg install orphe_console_1.0.4_arm64.ipk
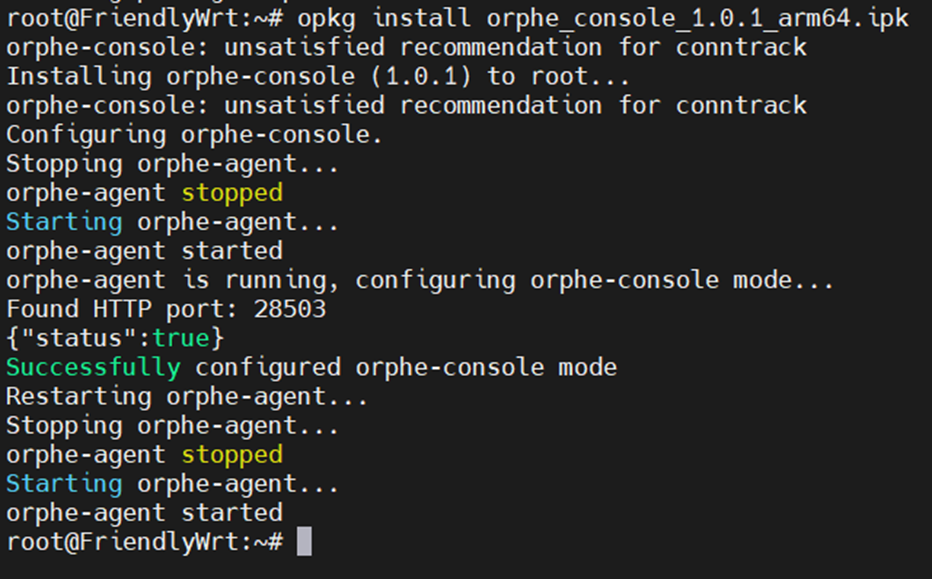
If installation fails (existing installation detected)
killall orphe-agent
opkg remove orphe-console
opkg install orphe_console_1.0.4_arm64.ipk
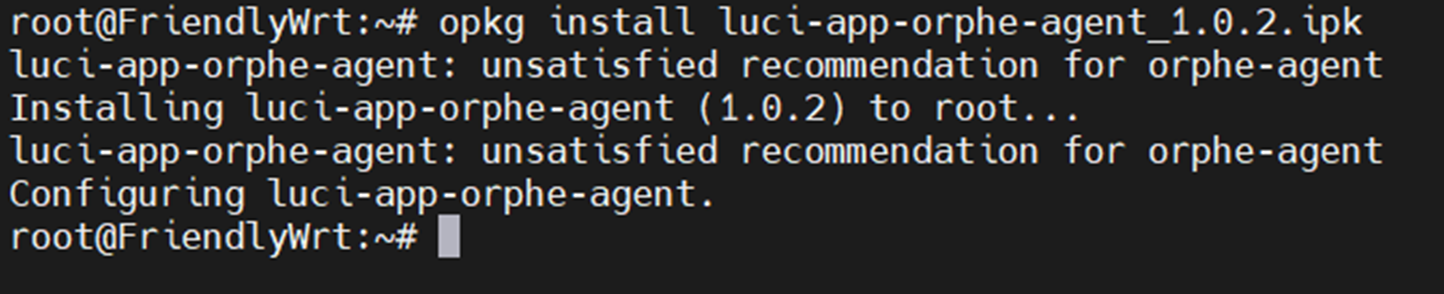
Step 6. Install LuCI Web UI Plugin
opkg install luci-app-orphe-agent_1.0.4.ipk
Installation Complete !
Next: Provision the device to OrpheLink for management.
© 2025 O’Prueba. All rights reserved.| Privacy Policy


This website uses cookies to improve user experience. By
clicking agree you consent to all cookies in accordance with our Cookie Policy.