User Manual
Account Management
Version 2.1
OOS allows users to create different types of account.
Currently, support Admin and Container privileges.
|
Function |
OOS |
|
|
User Type |
Admin |
Container |
|
Networking - Mobile Network - Wi-Fi - WAN - LAN |
P |
O |
|
Application |
P |
P |
|
Logs |
P |
P |
|
Security - Authentication - Firewall |
P |
O |
|
Diagnose |
P |
P |
|
Scheduler |
P |
P |
|
Settings - General - iSCSI Initiator |
P |
O |
Add Account.
-
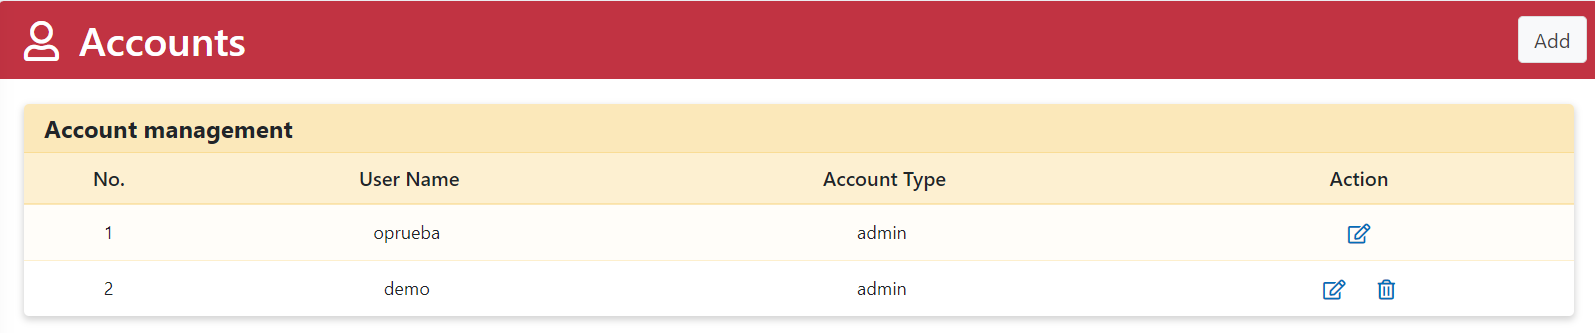
Step 1. Go to Accounts page.
-
Step 2. Click “Add” button.
-
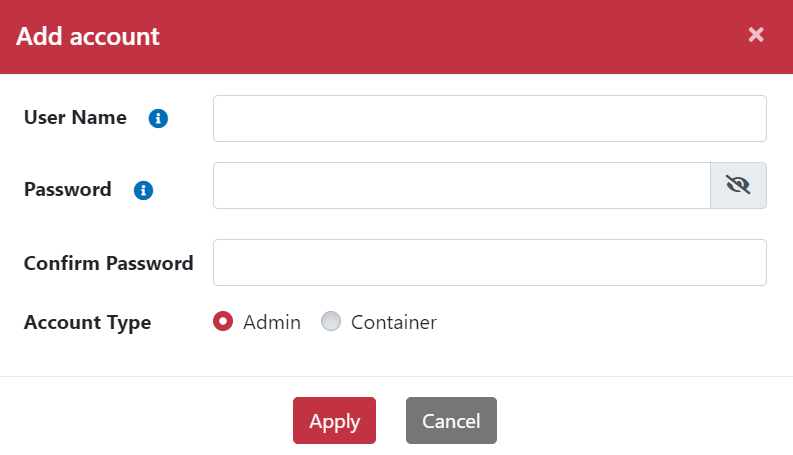
Step 3. Pop-up “Add Account” dialog box.
-
Step 4. Type User Name, Password and Confirm Password.
-
Step 5. Select Account Type as Admin or Container.
-
Step 6. Click “Apply” button.
-
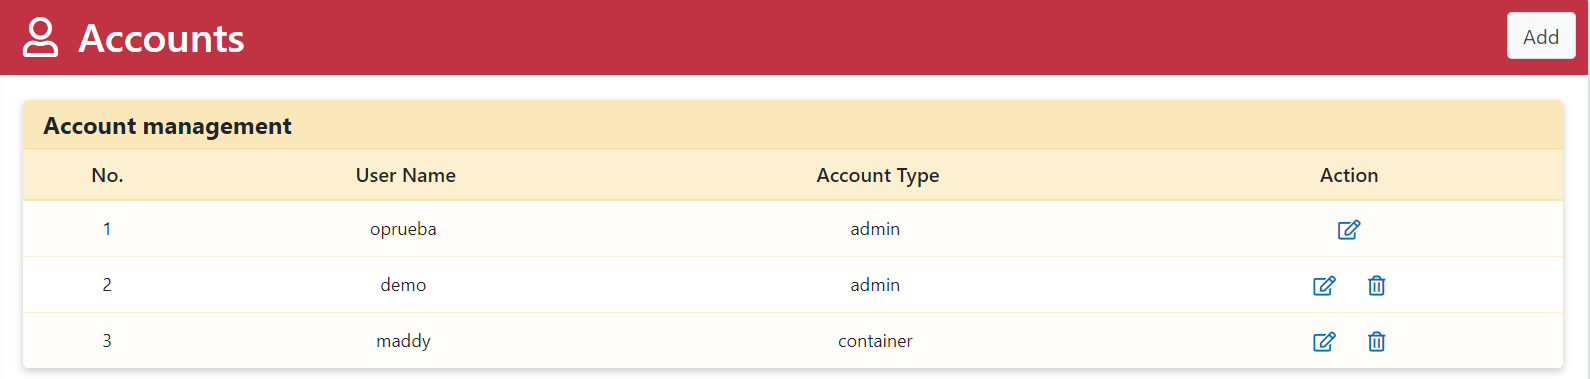
Step 7. Go back to Accounts page.
-
Step 8. Added account is showed in Account Management table.
|
Item |
Rule Description |
|
User Name |
User name must be 2-32 characters. The first character must be a lowercase letter, follower support lowercase letters, numbers, underscores, or dashes. |
|
Password |
Password must be 8-64 characters. Backslashes are not accepted. |
Account name and password rule table
Edit Account.
-
Step 1. Go to Account page.
-
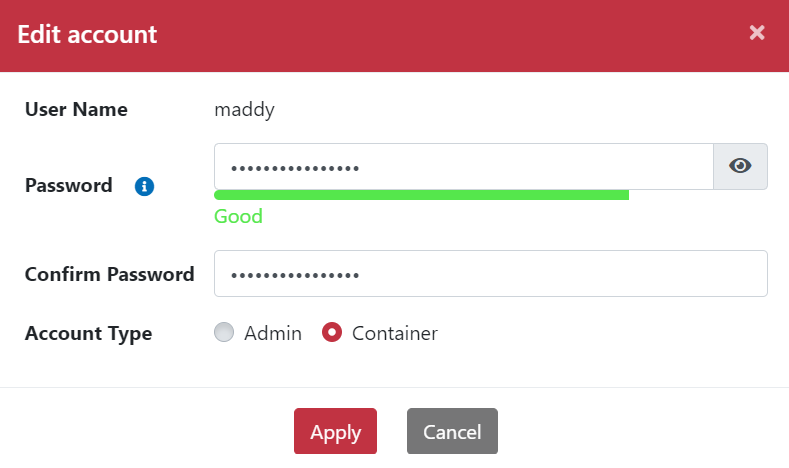
Step 2. Click “Edit” icon and pop-up “Edit Account” dialog box.
-
Step 3. Modify password and account type.
-
Step 4. Click “Apply” button.
-
Step 5. Go back to Accounts page.
-
Step 6. Click “Logout” button.
-
Step 7. Pop-up Confirmation dialog box. Show Are you sure want to logout?
-
Step 8. Click “Yes” button.
-
Step 9. Go back to Login page.
-
Step 10. Type user name and new password.
-
Step 11. Click “Login” button.
-
Step 12. Login by new password successfully.
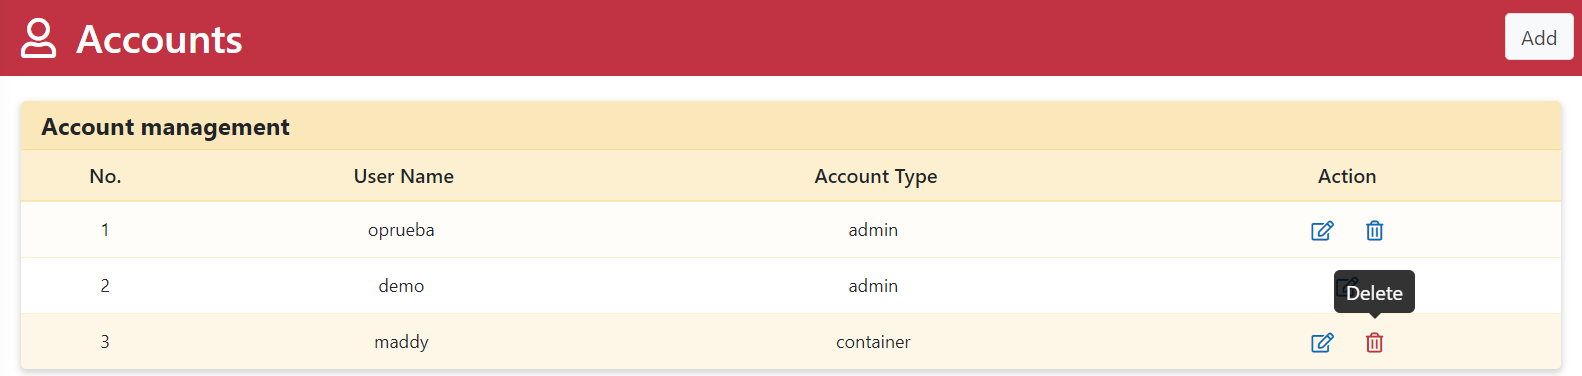
Delete Account.
-
Step 1. Go to Account page.
-
Step 2. Click “Delete” icon.
-
Step 3. Pop-up Confirmation dialog box. Show Are you sure you want to delete the account?
-
Step 4. Click “Yes” button.
-
Step 5. Account has been deleted successfully.
-
Step 6. The Account Management table no longer show deleted account.


