User Manual
OOS Installation Guide
Version 1.0
OOS Generic Installation Guide
Generic OOS Installation Requirements
- Only supports X86 systems
- Minimum Hardware or VM Requirements:
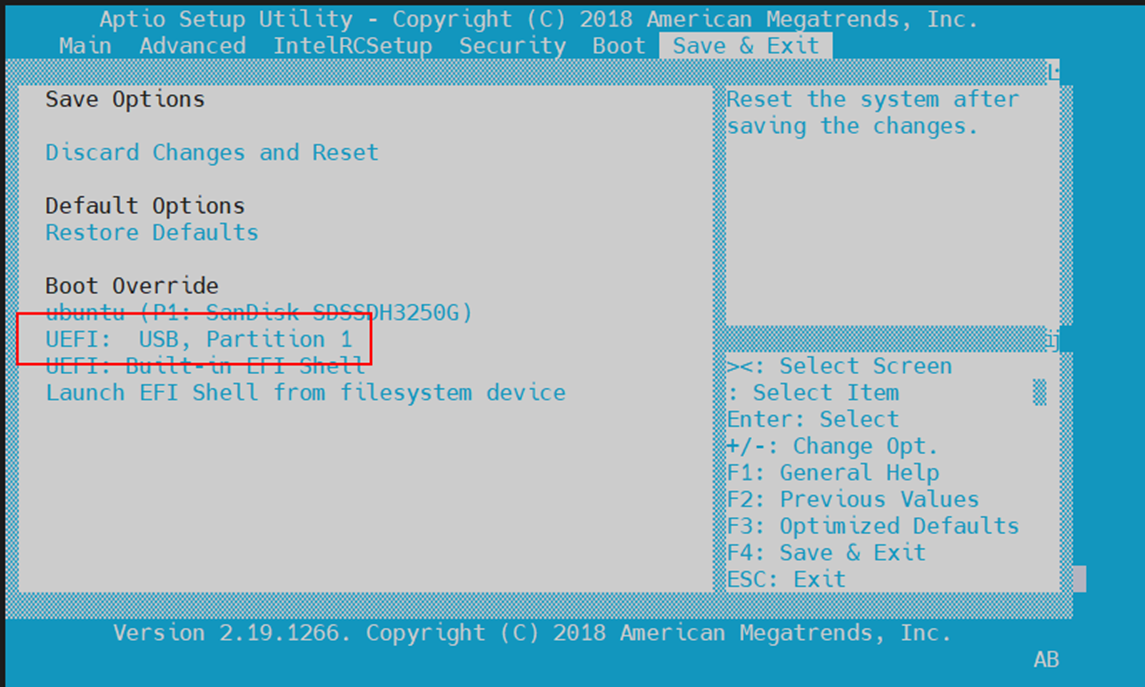
- UEFI boot selection is mandatory
- CPU: 2 cores
- Memory: 2GB
- Storage: 20GB
Preparation
- Prepare a USB flash drive.
- Download the ISO file:https://www.oprueba.com/en/oos/download
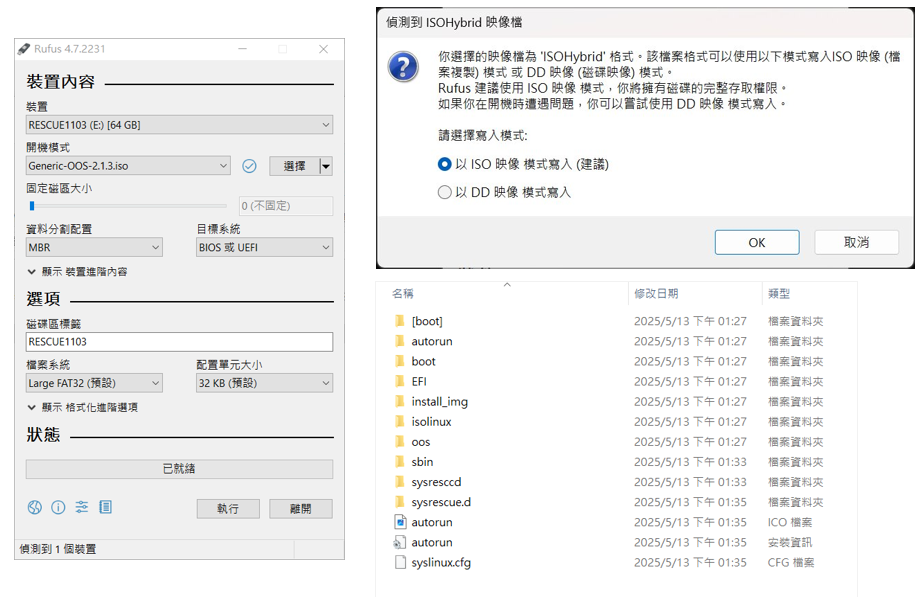
- Use Rufus or similar tool to create a bootable USB drive:
- Select the downloaded ISO file Follow prompts to complete the process
- Select the downloaded ISO file Follow prompts to complete the process
Installation Procedure
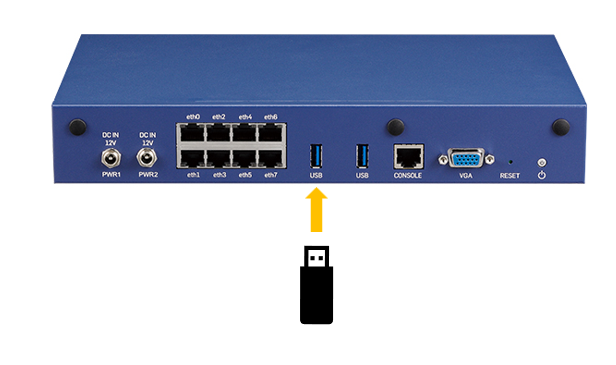
1. Boot from USB
-
Insert the OOS bootable USB into your target device.
-
-
Power on and enter the BIOS setup.
-
Select USB as the boot device.
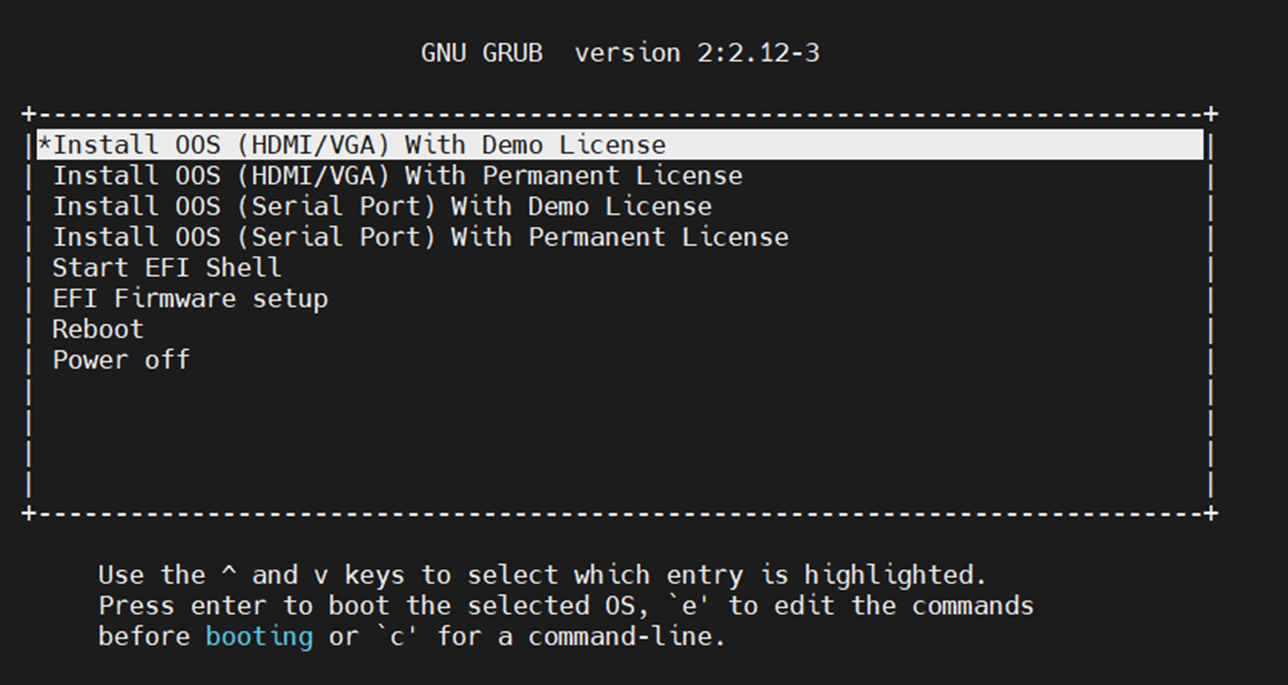
Choose Installation Interface & License
-
Select the display/output interface based on your setup:
-
Serial Console
-
HDMI/VGA (external monitor + keyboard)
-
-
Choose Demo license version .
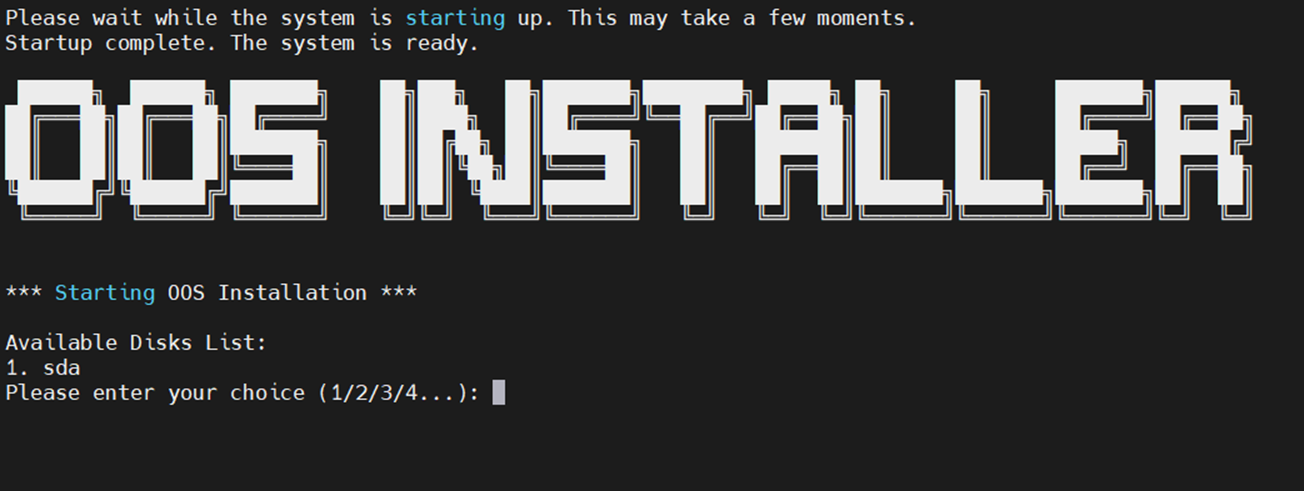
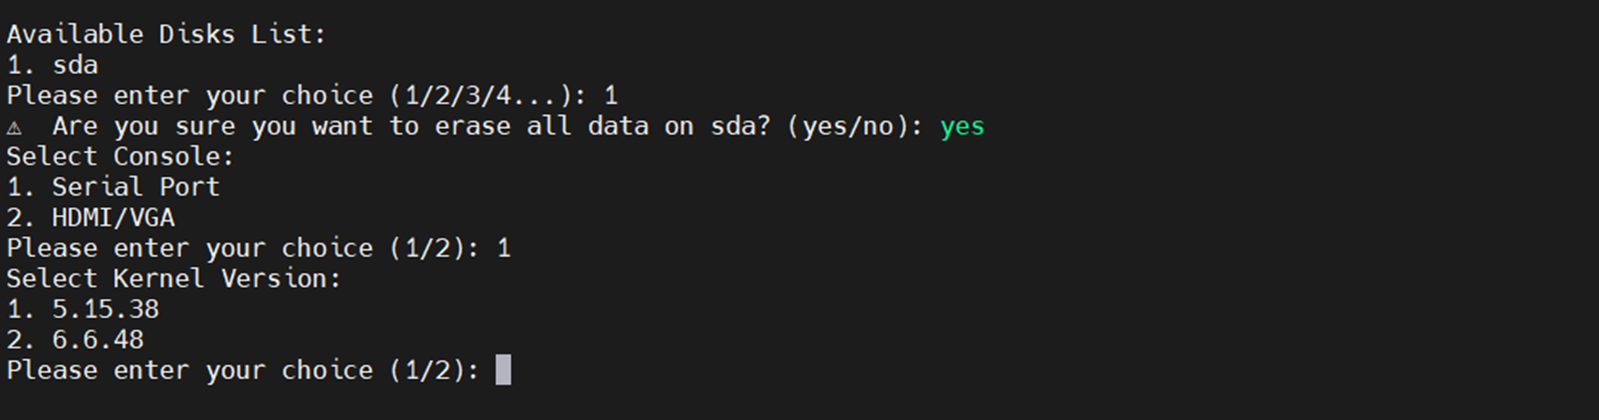
3. Disk Selection & Warning
-
Install & Initialize

-
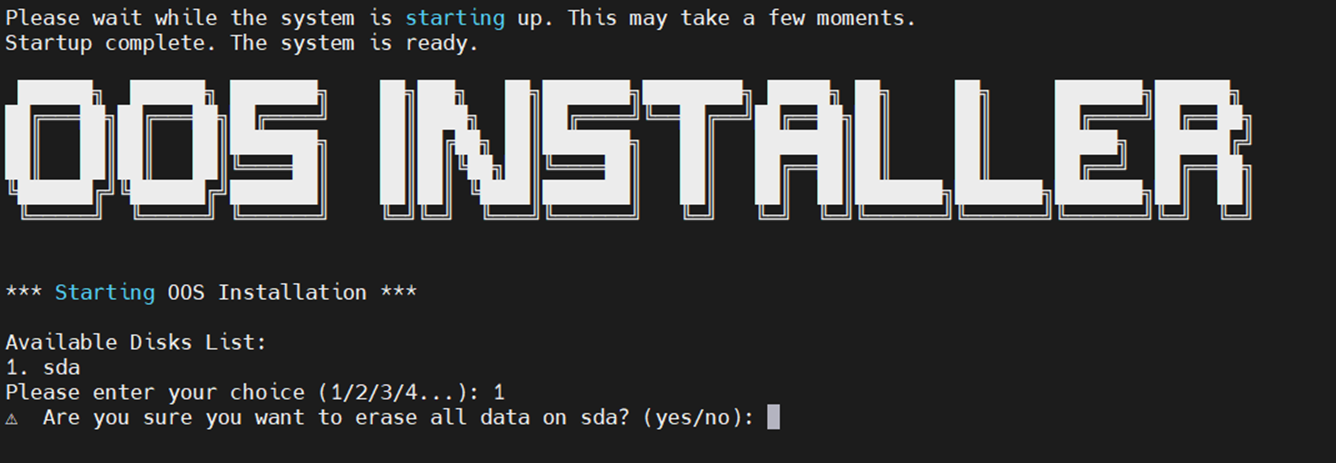
Select the target disk from the available list.
-
⚠️ Warning: All data on the selected disk will be erased
-
.
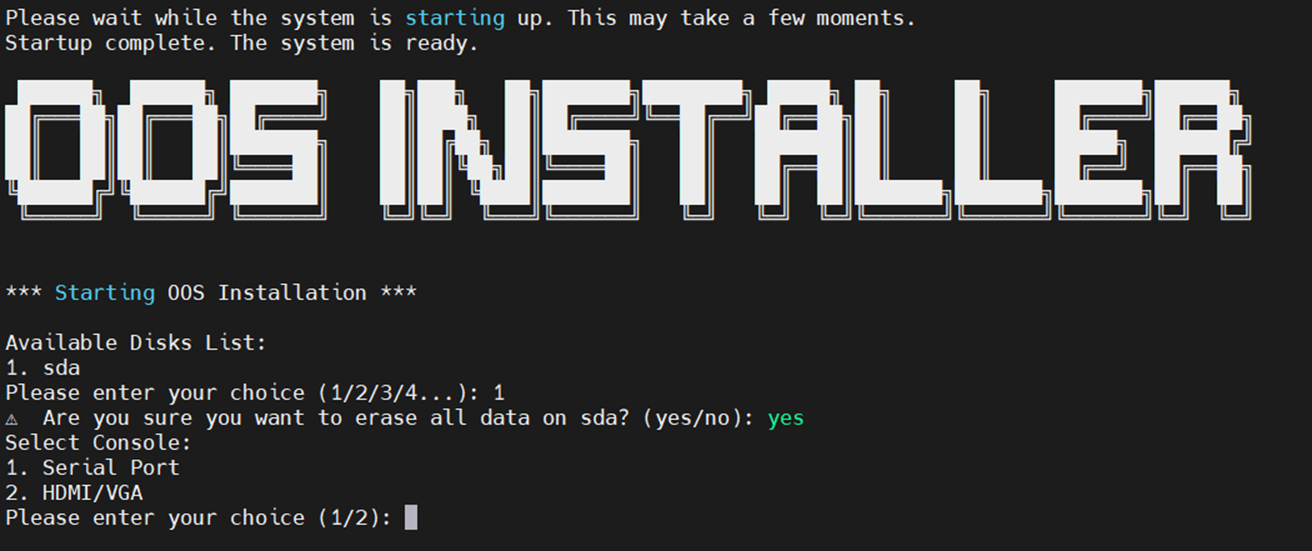
4. Confirm Display Interface Again
-
Reconfirm the interface used for OOS display after installation.
5. Kernel Version Selection
Choose one of the following kernel options based on your hardware:
-
5.15.38 – Includes support for 5G and Wi-Fi modules. Recommended for existing deployments, but may need tuning for high-core-count systems.
-
6.6.48 – Supports newer hardware, but communication modules may not work out-of-the-box.
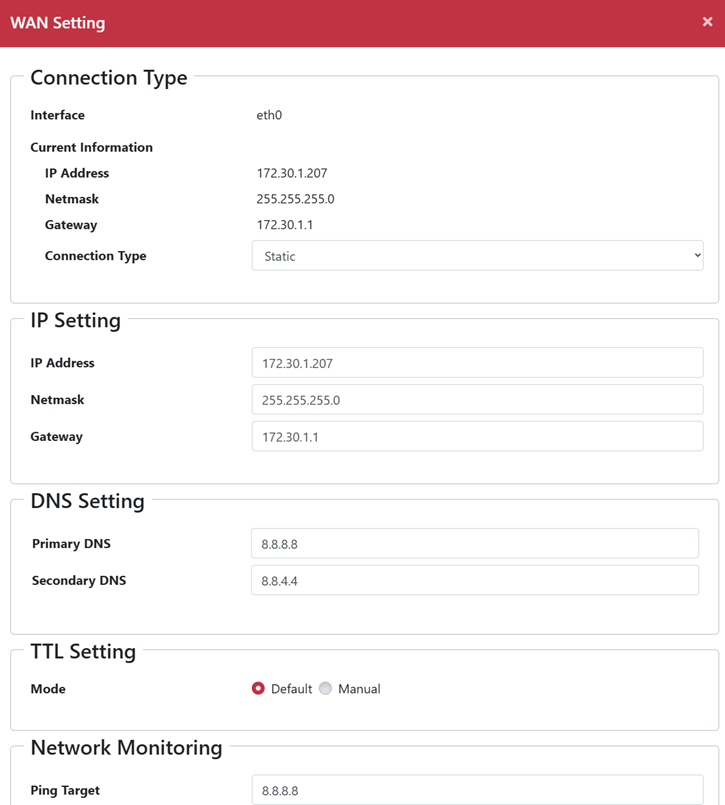
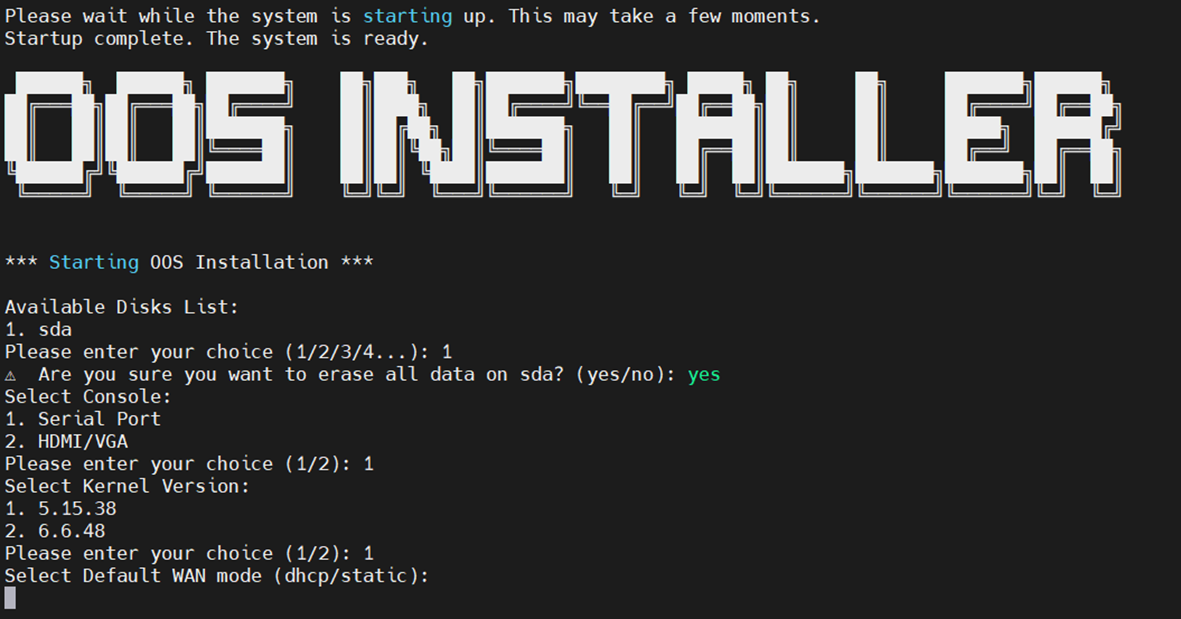
6. WAN Interface Setup
-
Select the default mode for WAN:
-
DHCP – Automatically obtain IP
-
Static – Manually assign IP, Gateway, and DNS
-
7. Begin Installation
-
Confirm all settings and start the installation.
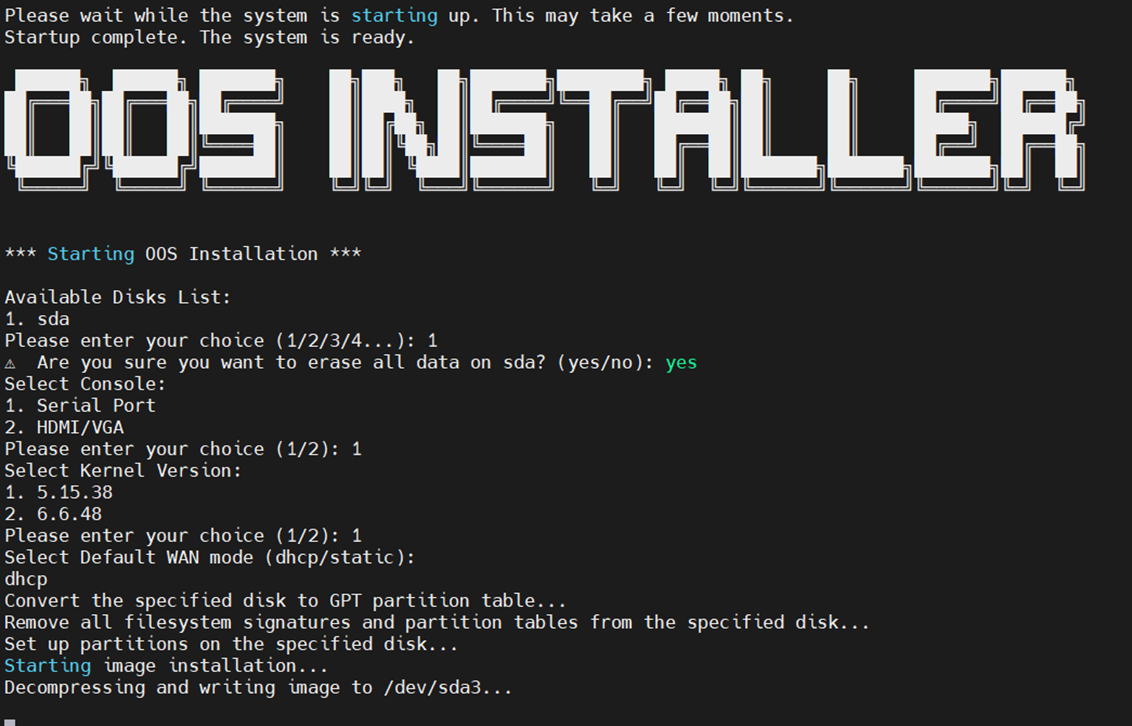
-
The system will automatically reboot upon completion.
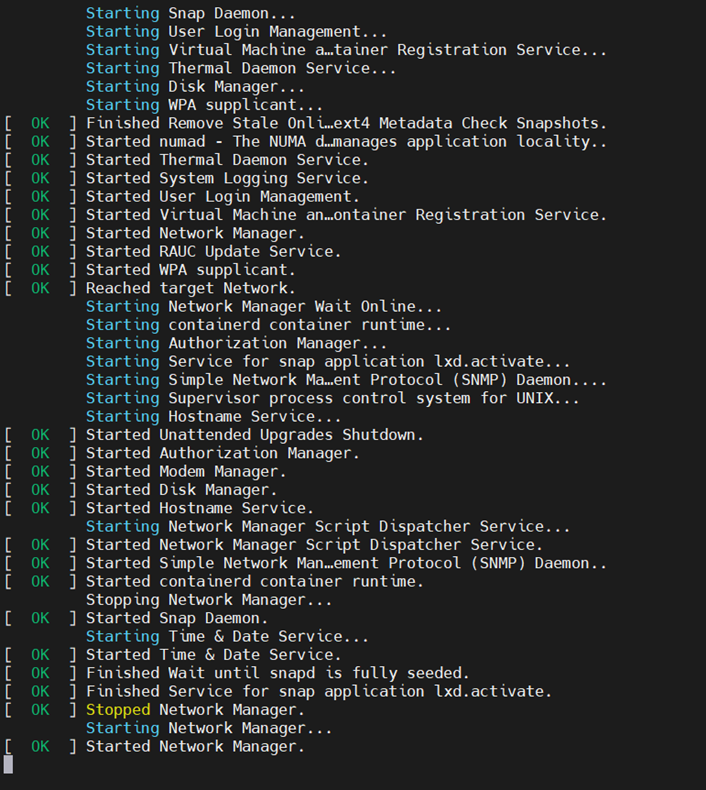
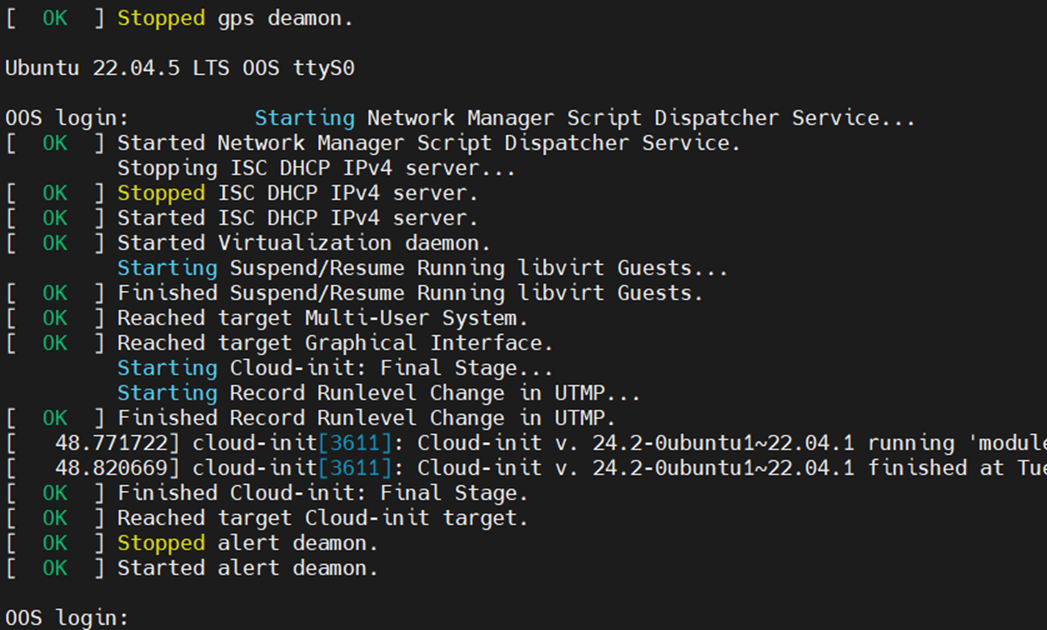
First Boot & Login
1. On first boot, wait for the OOS login prompt to appear on console or display.
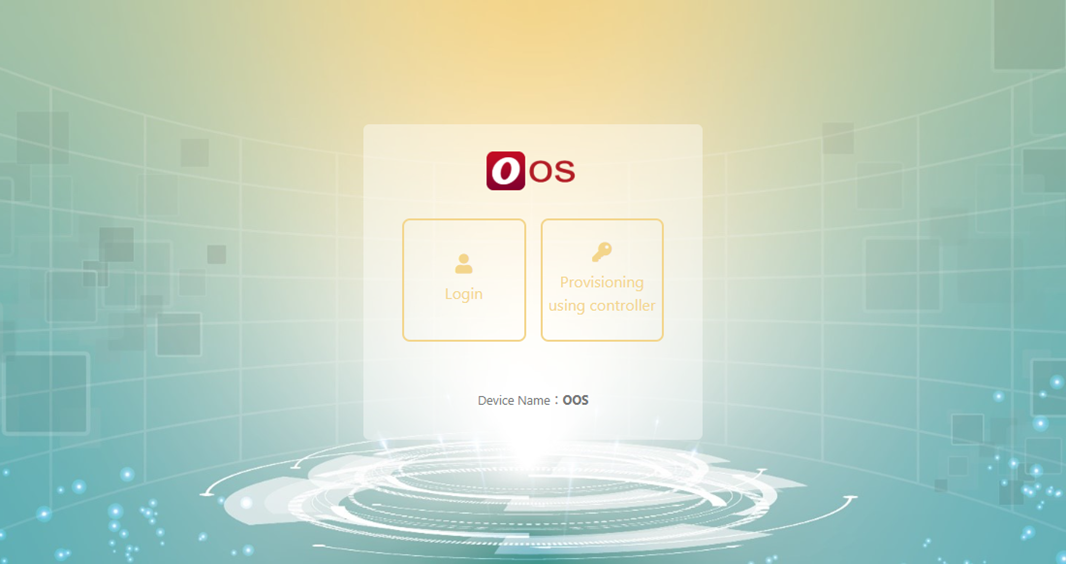
2. Login options:
-
-
Via HDMI/VGA using a connected keyboard
-
Via LAN port (connect laptop to OOS LAN port and open browser)
-
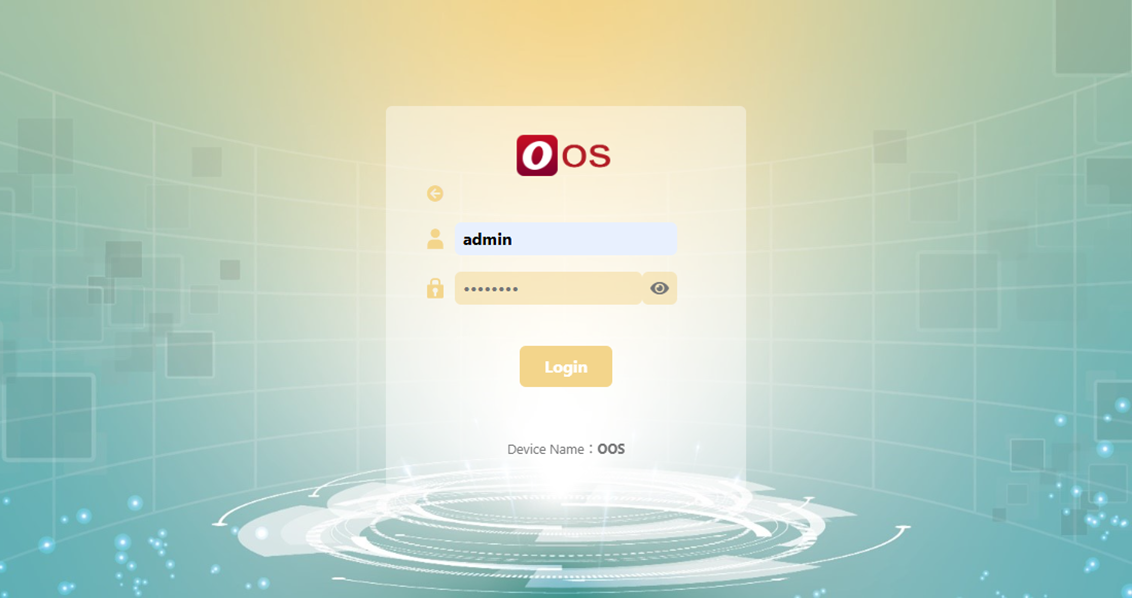
3. Default credentials:
- Username: admin
- Password: password
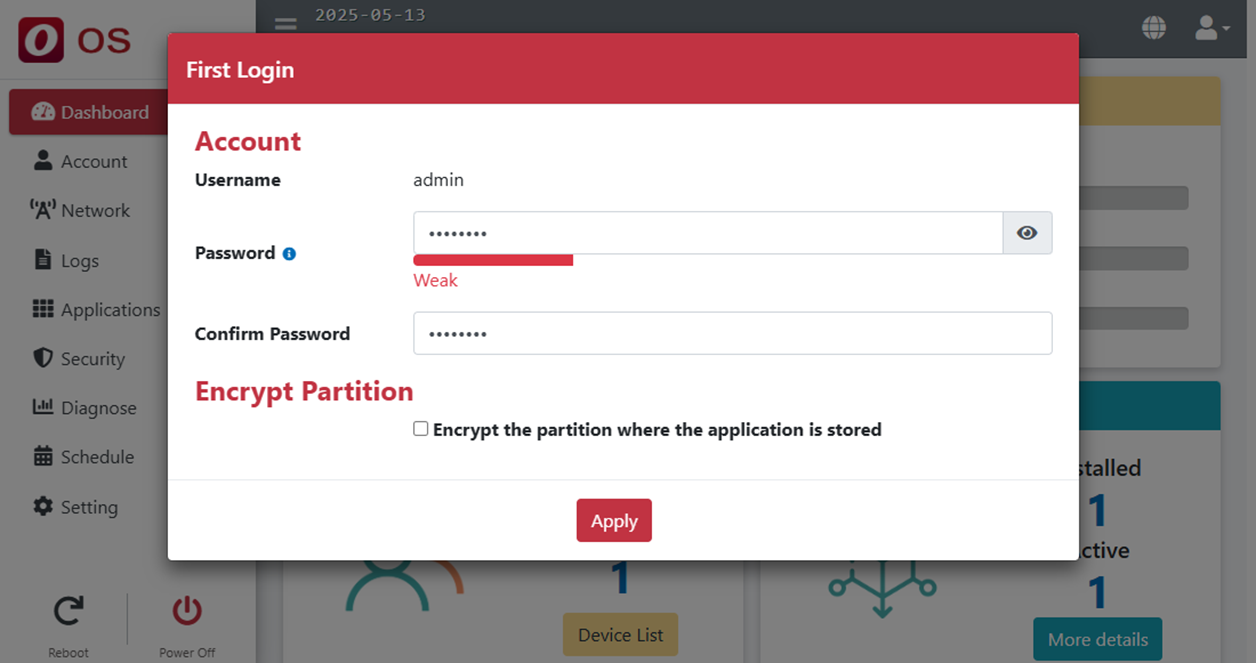
4. You will be prompted to change the password after first login.
Network Interface Defaults
-
By default,
eth0is assigned as WAN, all other interfaces are set as LAN.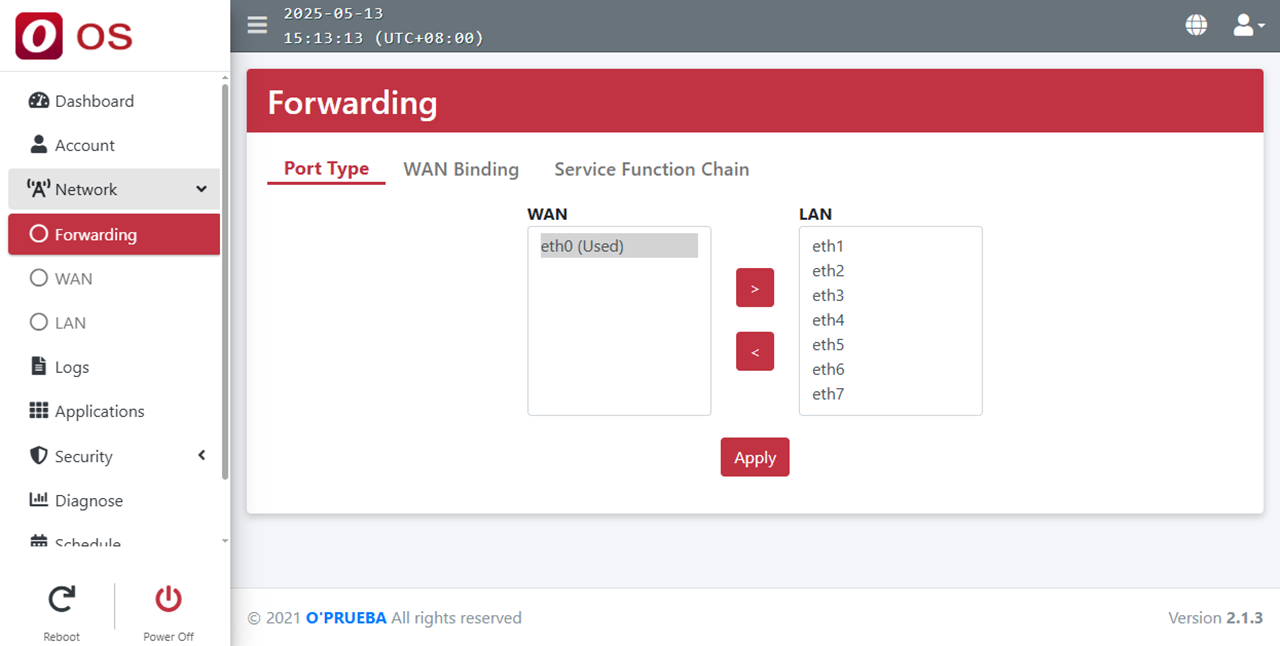
-
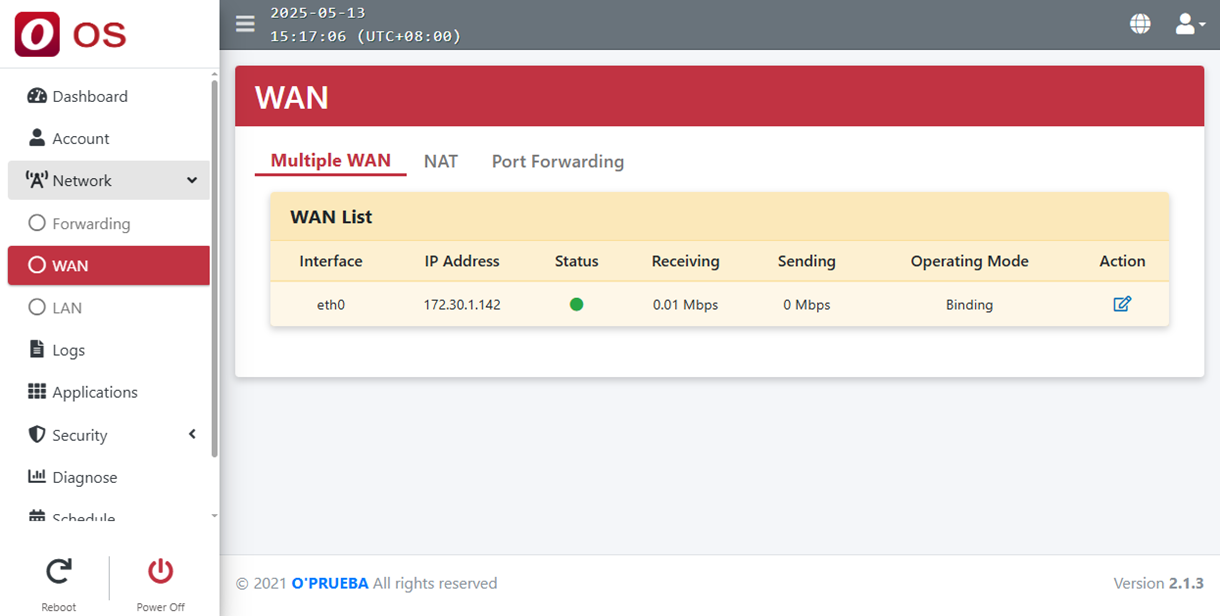
If
eth0is in DHCP mode, it will automatically obtain an IP address when connected to a proper network. -
You can adjust the interface configuration via the web UI's Action menu.
LAN Default IP Range:
-
10.100.100.2to10.100.100.254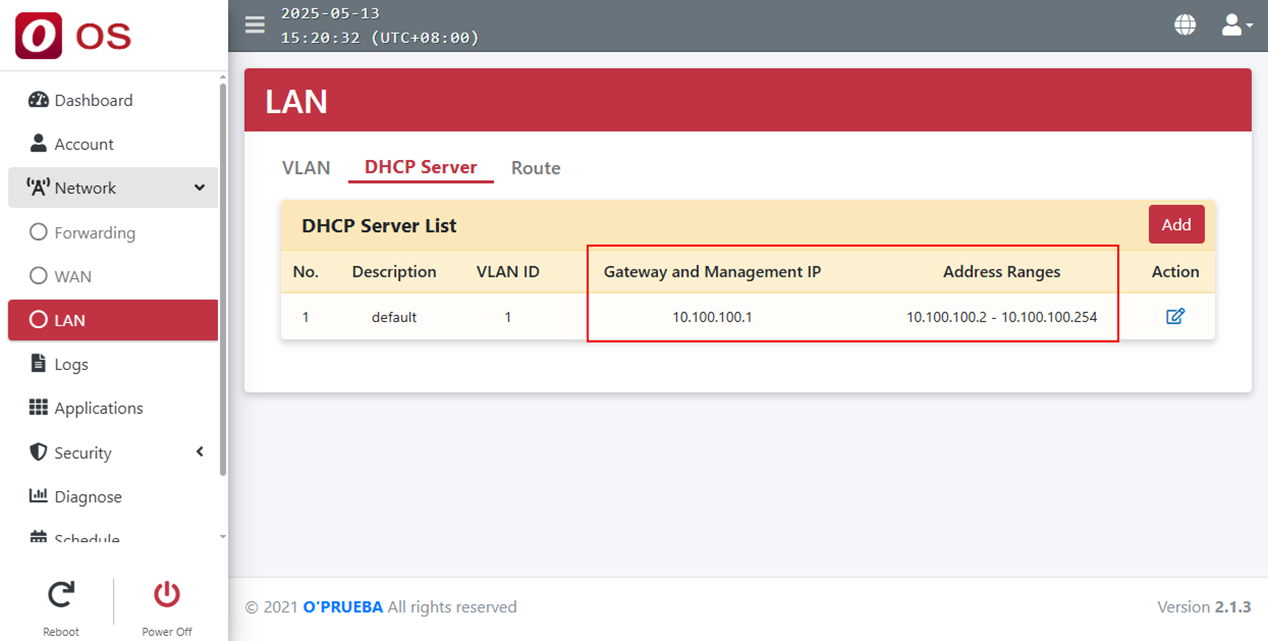
Static Mode:
-
Manually configure: IP, Netmask, Gateway, and DNS