User Manual
Template
Version 1.3
Template
The Template page allow user to create and manage container and hypervisor templates.
1.Manage Container Registry
-
Step 1. Go to Application > Template > Container > Registry.
-
Step 2. Click
 and modify parameters in “Add Container Registry” dialog-box.
-
Step 3. Click Apply button and check the result in the
-


2. Manage Container Network Endpoint
Step 1. Go to Application > Template > Container >Network Endpoint.
Step 2. Click
 and modify parameters in “Add Network Endpoint” dialog-box.
 Step 3. Click Apply button and check the result in the network endpoint list.


3 . Import Container Image
User can import image on OOS controller by docker command or import file.

4. Use docker command to push container
-
Step 1. Go to Application > Template > Container >Import Image.
-
Step 2. Click
and select “Docker Password”. Verify the docker account and password. Prepare to use the docker command in your terminal to push container to OOS controller. -

-
Step 2. Use command “docker login controller.domain” to login OOS controller.

-
Step 3. Use command “docker tag {image}:{tag} controller.domain /company/{image}:{tag}”

-
Step 4. Use command “docker push controller.domain /company /{image}:{tag}” to push the container to OOS controller.

5 . Use “Import File” to upload container image
-
Step 1. Go to Application > Template > Container > Import Image.
-
Step 2. Click
button and select “Import file”.
-
Step 3. Upload the image then type the Image Name and Tag.
-
Step 4. Click Upload button and check the result in the image list.
6 . Container Add Template
Users can add a container template from an open-source registry. Here, we illustrate using openspeedtest on hub.docker.com as an example.
-
Step 1. Go to Application > Template > Container > Add Template.
-
Step 2. Type the App Name and Description.
-
Step 3. Upload App icon.
-
Step 4. Type Image Name as openspeedtest.
-
Step 5. Type Image Tag as latest.
-
Step 5. Select Network Endpoint as bridge.
-
Step 6. Select Resource Limitation as High:2 Cores CPU + 2 GB Memory.
-
Step 7. Select Container Registry as hub.docker.com(hub.docker.com).
-
Step 8. Click Apply button.

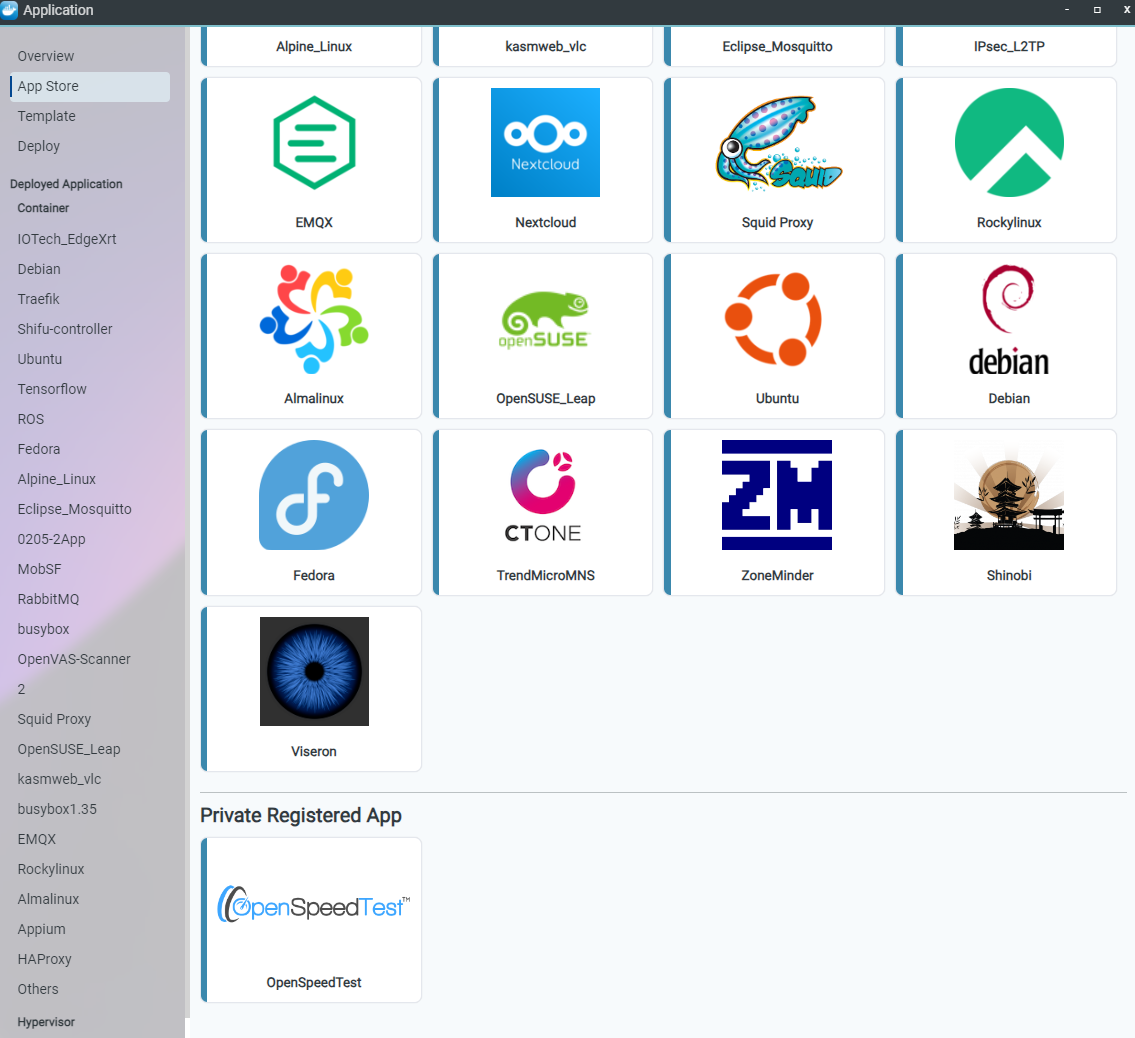
Application will show in the App Store > Container App > Private Registered App.
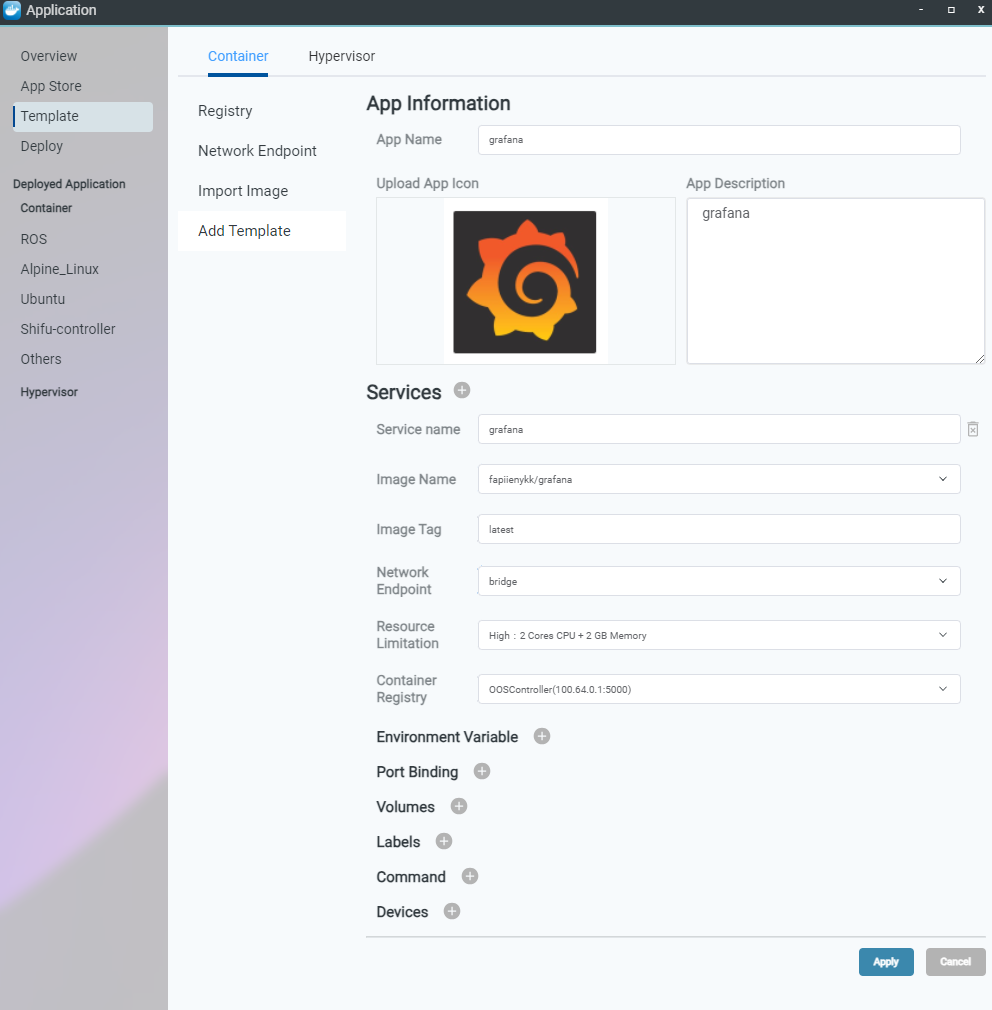
Users can also add a container template from imported images. Here, we use Grafana on OOS Controller as an example.
- Step 1. Go to Application > Template>Container >Add Template
-
Step 2. Modify the App Name, App Description and Service name as grafana.
-
Step 2. Upload App icon.
-
Step 3. Select Image Name as fapiienykk/grafana.
-
Step 4. Type Image Tag as latest.
-
Step 5. Select Network Endpoint as bridge.
-
Step 6. Select Resource Limitation as High:2 Cores CPU + 2 GB Memory.
-
Step 7. When Step 3 select image from public. Container Registry will automatically change to OOS controller.
-
Step 8. Click Apply button.
Application will show in the Application will show in the App Store > Container App > Private Registered App.

7 Hypervisor Volume Management
User should upload their images to Volume Management before adding templates. User can create directory in order to manage their images. Please notice that public directory is read only which is managed by O’Prueba.
User can import image on OOS controller as follows.
-
Step 1. Go to Application > Template > Hypervisor > Volume Management page.
-
Step 2. Click
 and select the image in “Upload File” dialog box.
-
Step 3. Click Upload button and wait for upload process.
-
Step 4. Check Application List in Volume Management page when upload is completed.


8 Hypervisor Add Template
Add Template page allow user to create and edit hypervisor template.
-
Step 1. Go to Application > Template > Hypervisor > Add Template.
-
Step 2. Type App name.
-
Step 3. Upload App icon type the description.
-
Step 4. Type CPU and Memory.
-
Step 5. Select the Disk.
-
Step 6. Click Apply Button.

The application is available on the App Store.

-
-
-